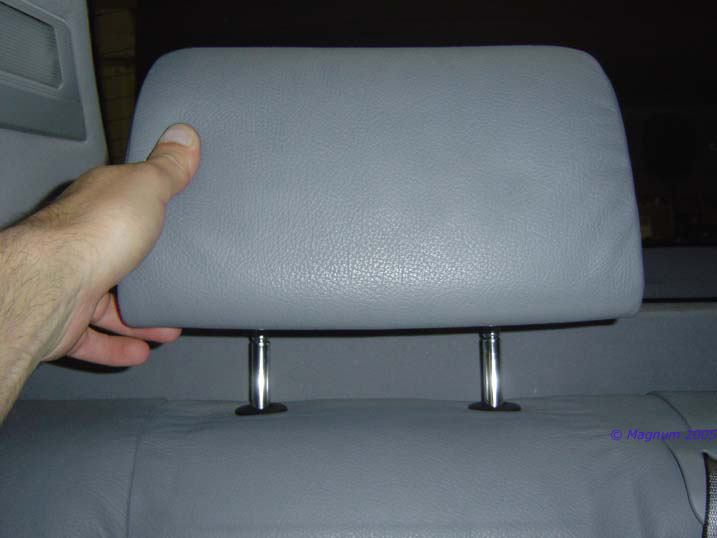
| Remove the rear
seat headrest, first fully extend them and then firmly pull up to
release: |
|
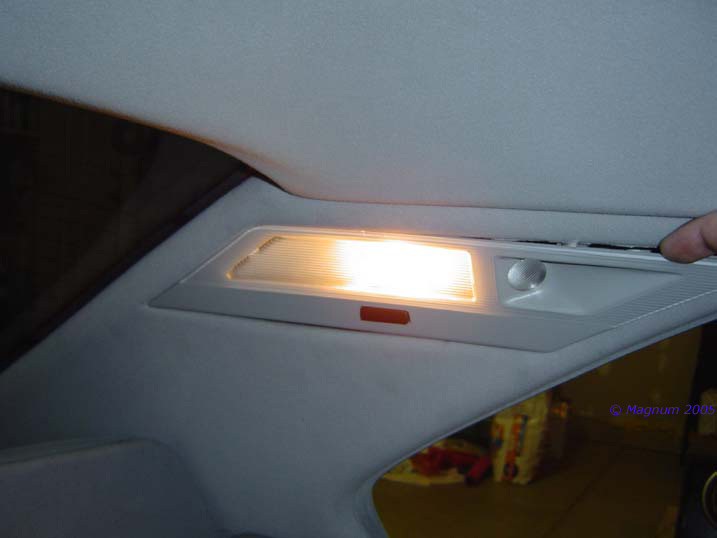
| Remove the c-pillar
lights this is done by starting at the top to release the clips, and
then unplug lights: |
|
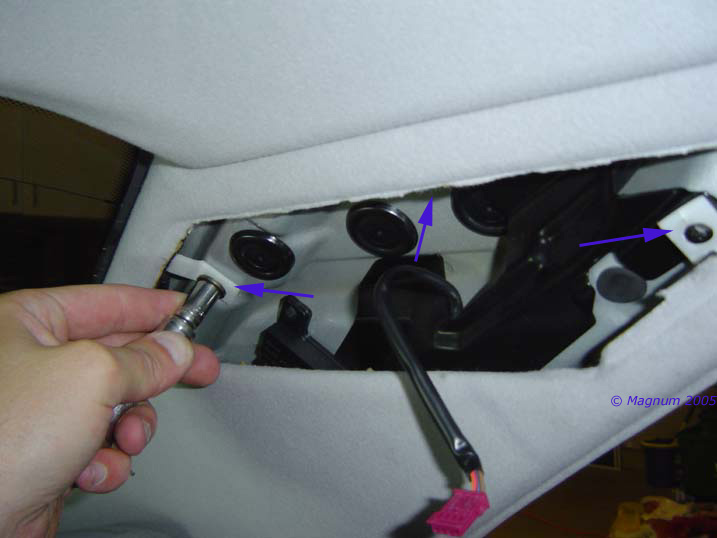
| Unscrew the screws;
there are 3 in each [left & right] c-pillar: |
|
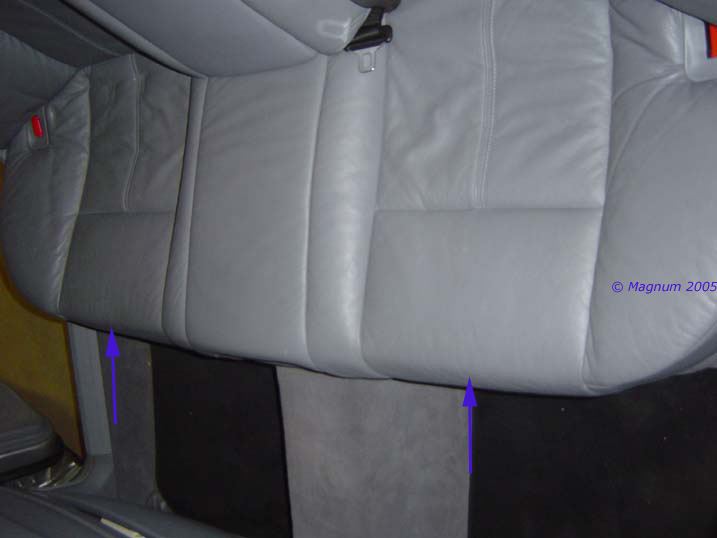
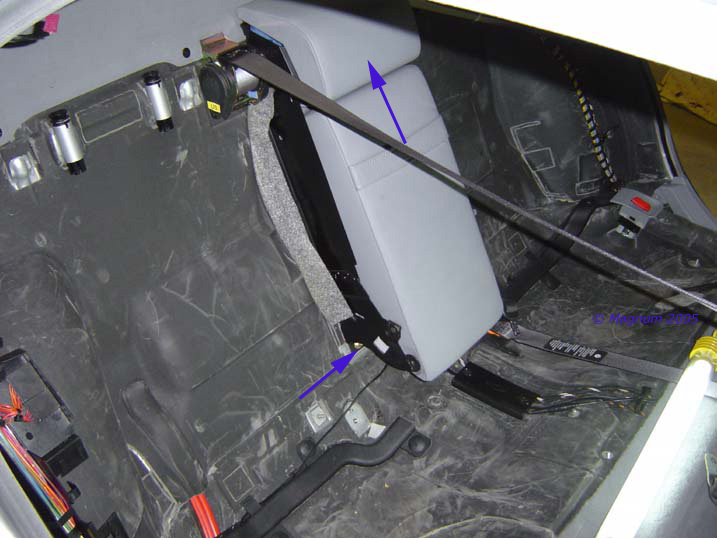
| Remove the rear
bench seat; this is easily down by firmly pulling up where the arrows
point: |
|
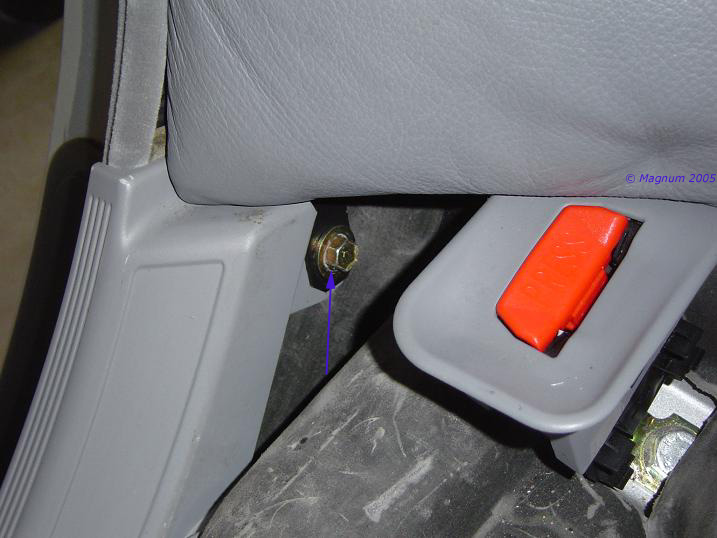
| Now remove the rear
seat back. There is 1 nut and 1 screw that have to be removed and
then you just pull out and then up to remove. Here’s the first nut: |
|
| Here’s the second
screw: |
|
| Remove the first
aid kit storage bin, this is simple, just grab each side and pull up: |
|
| Remove the rear
center armrest / storage console, there are 2 nuts on the bottom.
After these are removed simply pull out and then lift up: |
|
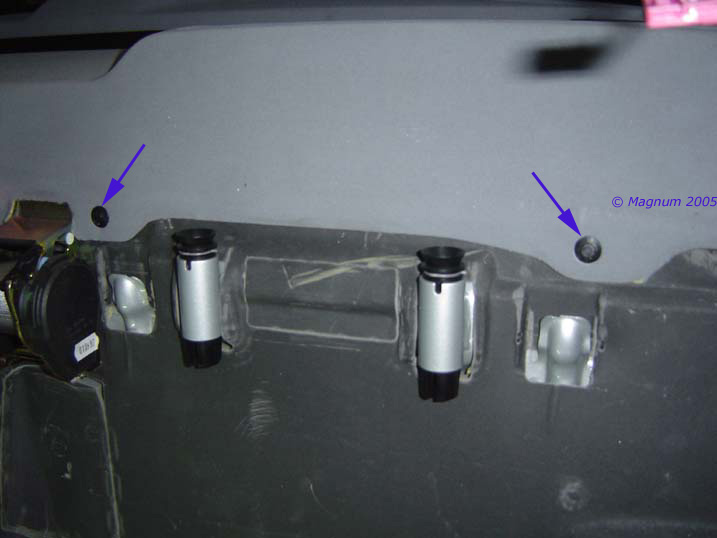
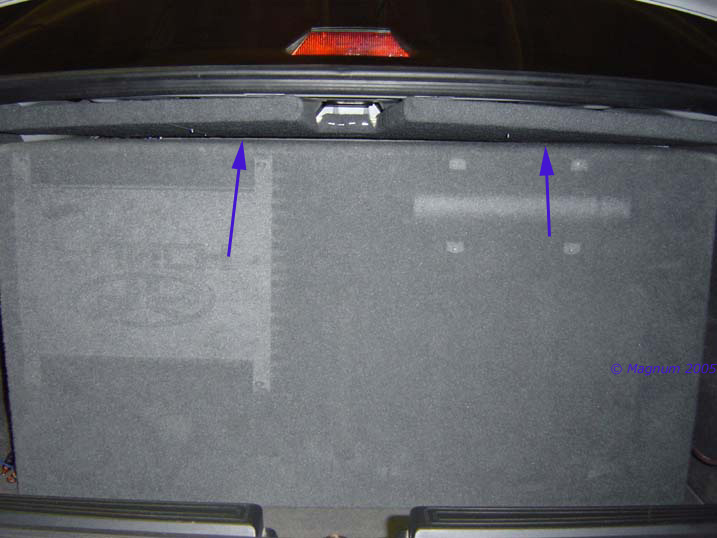
| Remove the rear
shelf speaker cover; this is done by removing the 4 push clips that
run along the front of the cover. The arrows show 2 of the 4: |
|
|
|
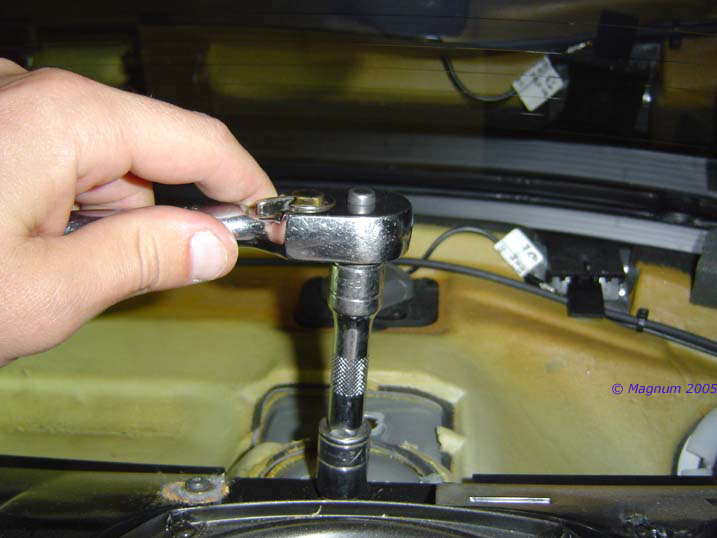
| Move to the trunk
and unscrew the electric rear window shade. Here are the 3 mounting
points for the shade, 2 are screws and 1 is a nut: |
|
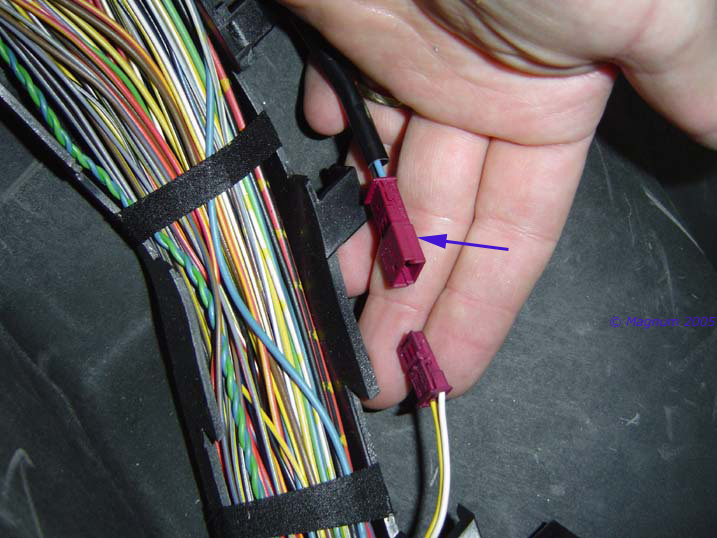
| Now go back in the
rear seat and unplug the window shade and proceed to removal: |
|
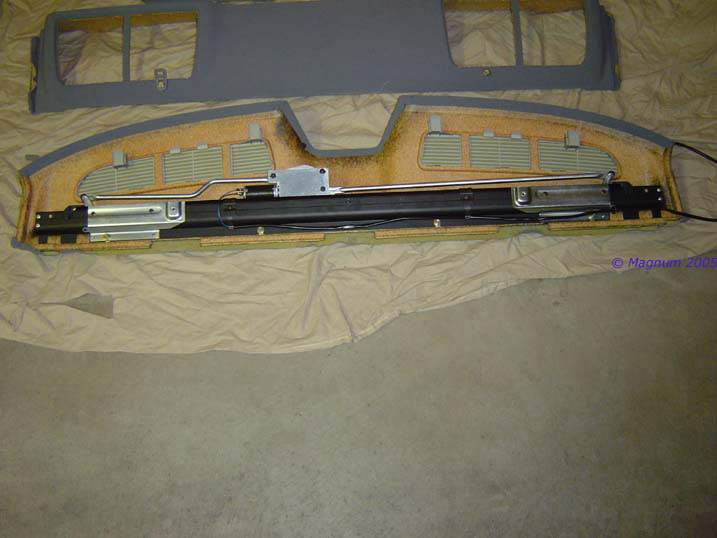
| Here’s a pic of the
back of the shade: |
|
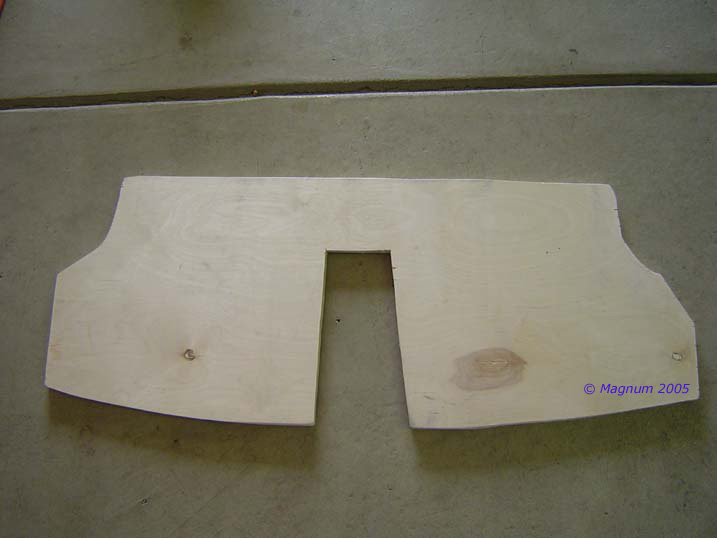
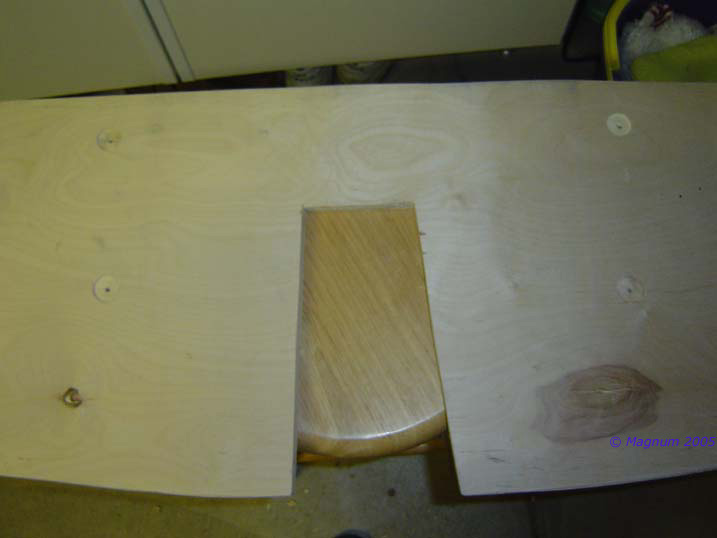
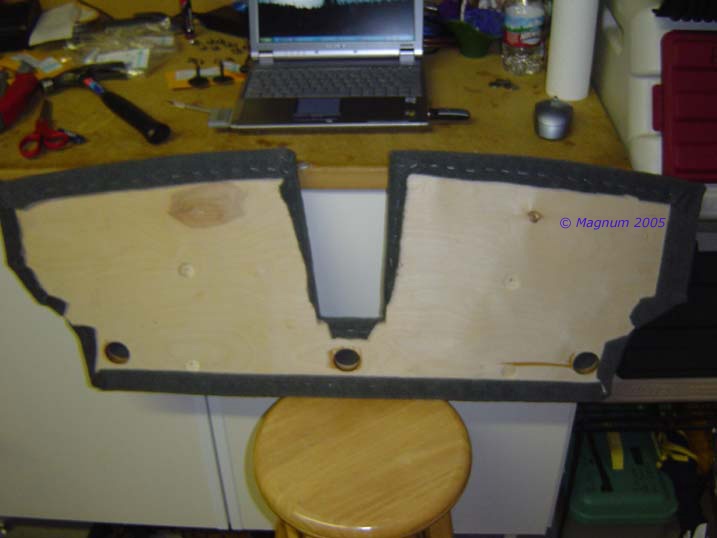
| Now it is time to
start cutting and tweaking the mounting shelf. This took some time to
get it just right, but was a good break. Hmmm, looks weird but fits
pretty well I just need to clean up some edges, do a little sanding
and get the mounting figured out. Note, the middle cut out is so the
trunk light will still shine and the third brake light can be changed
with removing any of this: |
|
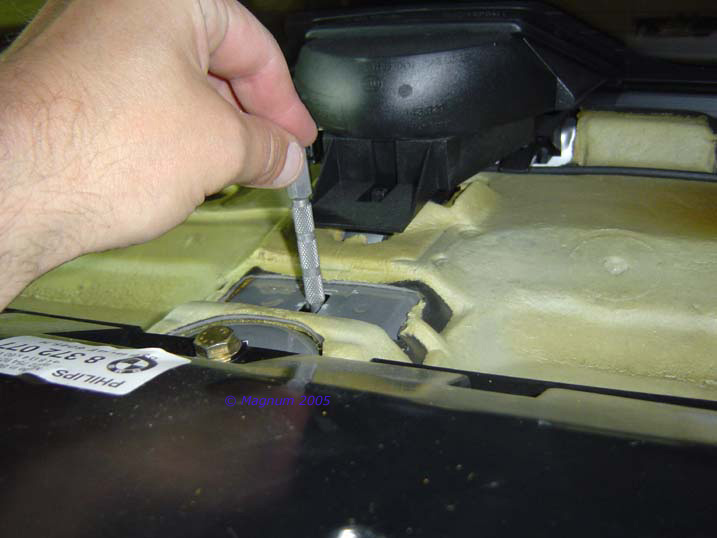
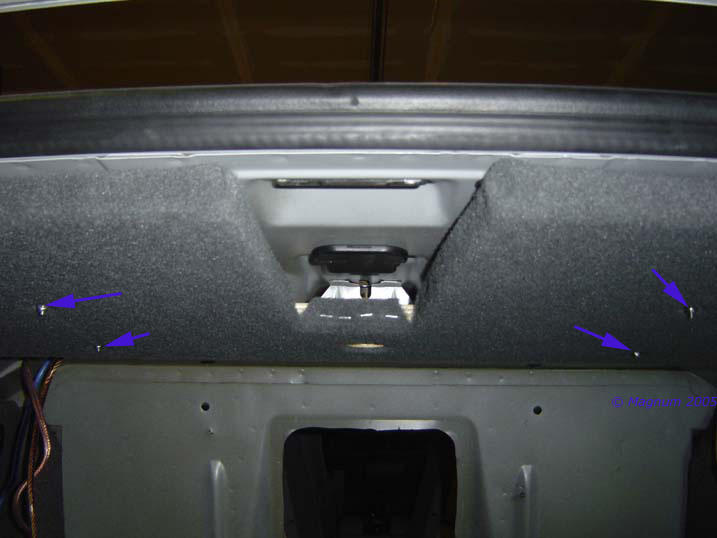
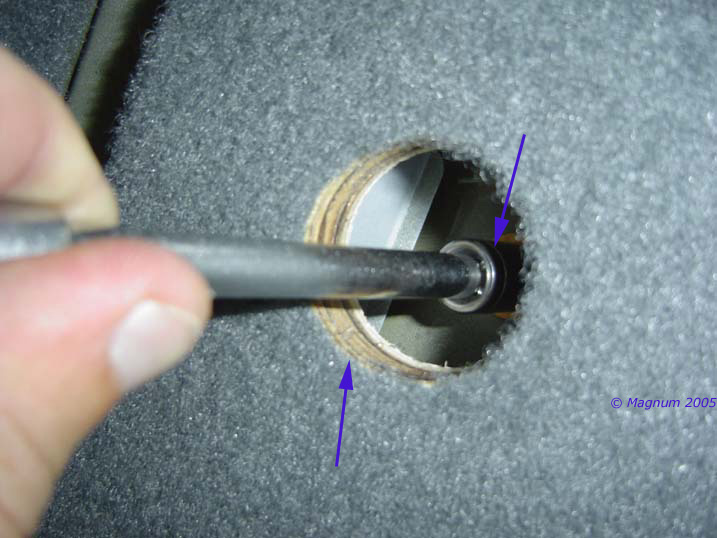
| On to the mounting,
there are actually some really good spots you can use without drilling
a bunch of holes. Let’s take a look, there is a set of holes that run
directly up into the rear interior shelf. I simply took a small drill
bit to push through the holes and make sure all was cool. Once it was
I started mount 2 of my four mounting points, here is a look from the
trunk: |
|
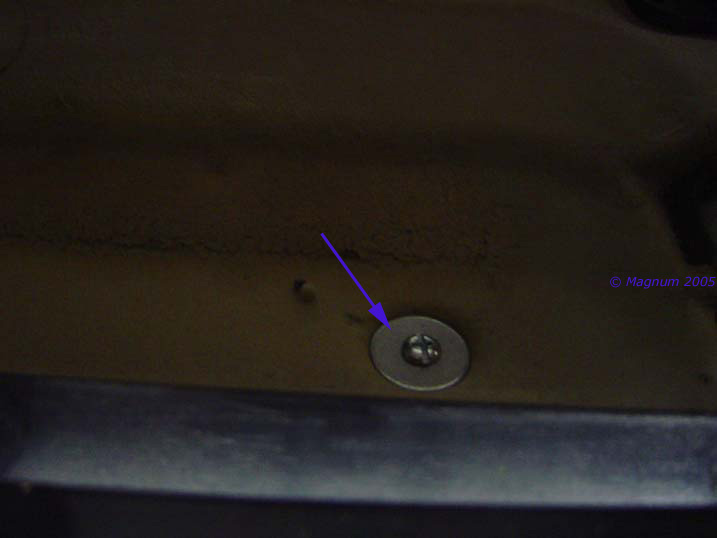
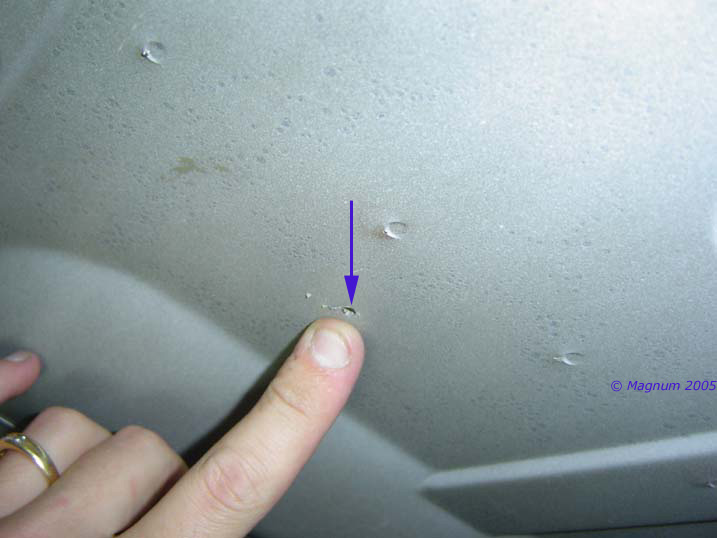
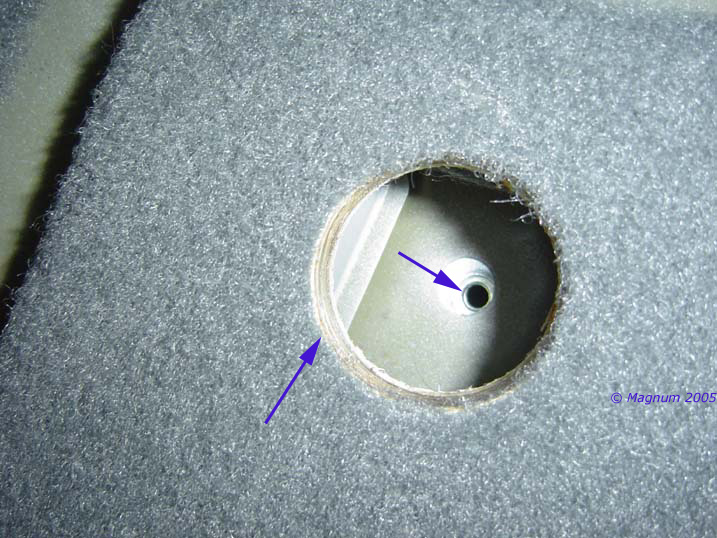
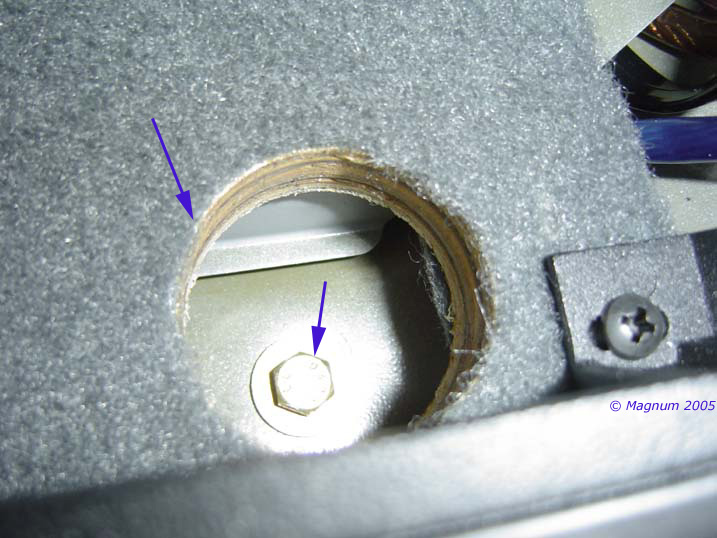
| Now here is a look
from the interior shelf, this is 1 of the 2 I have done so far: |
|
| Now I need to find 2
more, and there just weren’t 2 more factory holes I could use so I
have to drill: |
|
| I drilled the holes
just big enough for the small bolts to fit through: |
|
| Now on to fitment
and making sure I drill the correct holes in the wood. I only had 2
hands so the duct tape helped, resourceful huh!: |
|
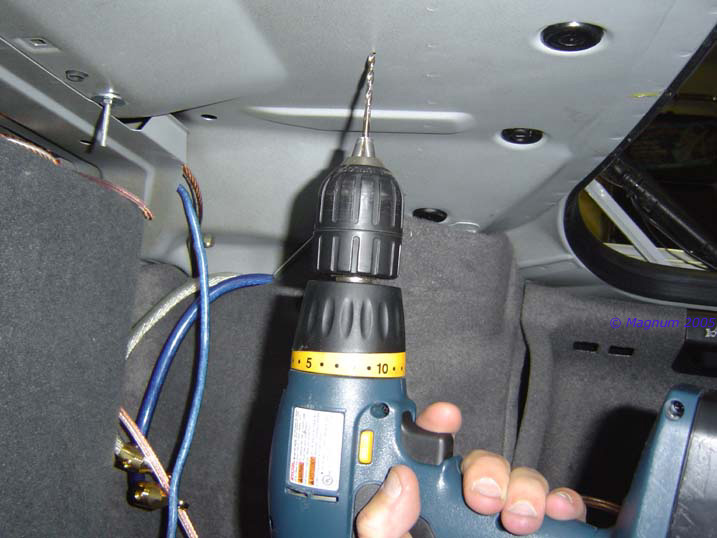
| Now I moved to the
interior and pushed a drill bit down through the holes I drilled to
mark the wood: |
|
| Now that we have it
test fitted it’s time to drill the final holes. I used a 7/8” boring
bit to bore the holes out a little to accommodate washers: |
|
| Now that we have it
fitted, I need to figure out how to mount it without impeding the rear
window shade trunk mount screws and nut. I took a hole punch for the
center and a drill bit for the two sides and marked the center of the
shade mounting points on the wood: |
|
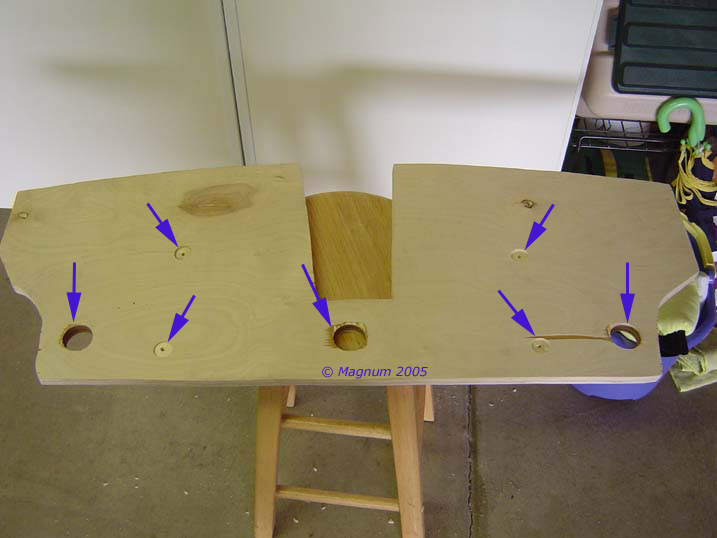
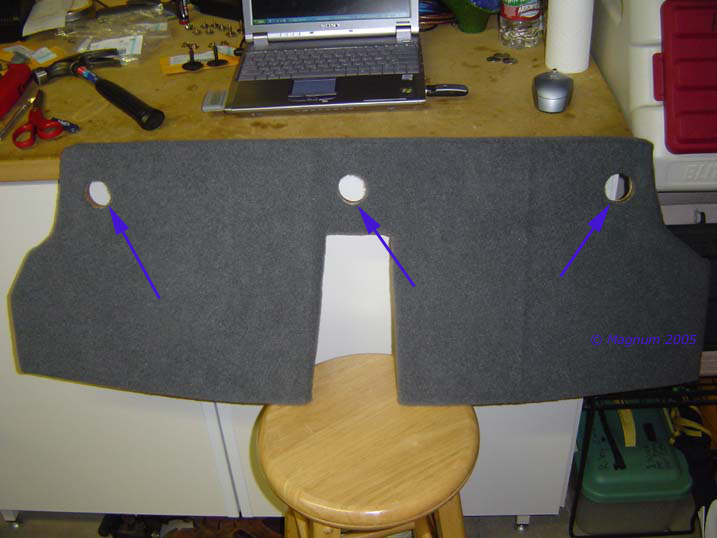
| Now it’s time to
drill the holes for the shade mounting. I used a grommet hole bit to
open up a nice sized hole. This should allow me to leave this mounted
should the shade ever need to come out for repair. The 3 large holes
are for the shade mounting entrance and the other 4 are for mounting
the shelf to the trunk: |
|
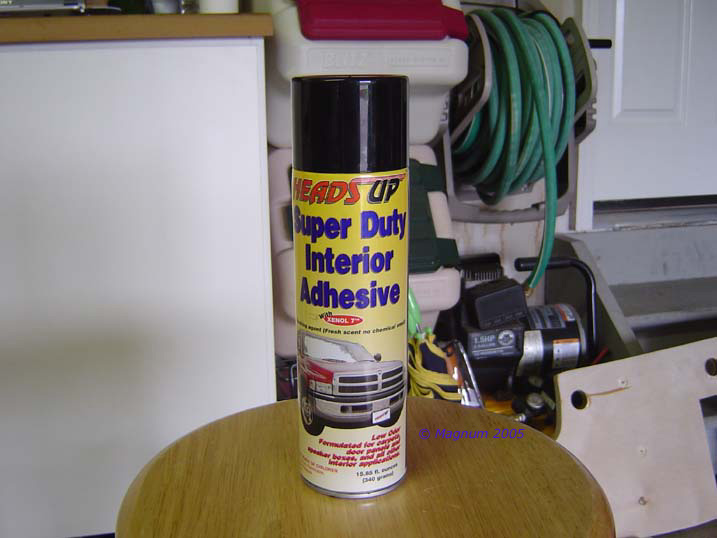
| Now that that is
done and all cut correctly, let me on the carpet. My adhesive of
choice: |
|
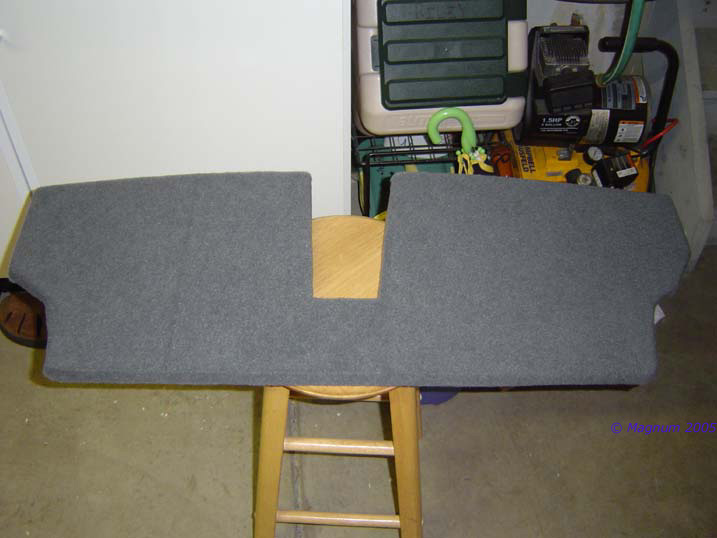
| All edges are
cleaned up, it’s sanded, carpeted and ready to cut out the holes in
the carpet: |
|
| Back side: |
|
| Cutouts finished, I
basically took an exact-o knife and traces the inside of the holes. A
lot of adhesive is nice to keep the holes tacked down now and in the
future: |
|
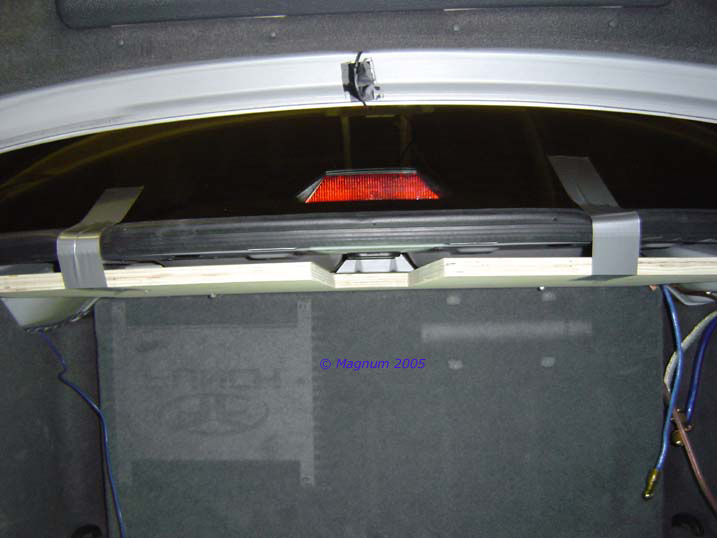
| It’s in and fitted
nicely, let’s hope the holes work for installing the rear shade. I
used my dremel to trim back the extra length on the bolts: |
|
| Rear shade holes, 1
down, 2 to go: |
|
| 2 down, 1 to go: |
|
| 3 down, 0 to go: |
|
| Now before I put it
all back together, I better make sure the sub enclosure will fit
clearance wise. Tight but it slides right in, success: |
|
| Now let's move onto
putting the car back together. First I did the rear shade just to
make sure the sockets fit in the drilled out holes and they do, I’ll
just have to use an extension but that’s no big deal. Oh, I love it
when a plan comes together: |
|
| Nice: |
|
| Here’s the finished
product. I going to have to vacuum and comb the back of the sub box
to remove the impressions from the prior mounting of the Amp and
Capacitor on the sub box: |
|
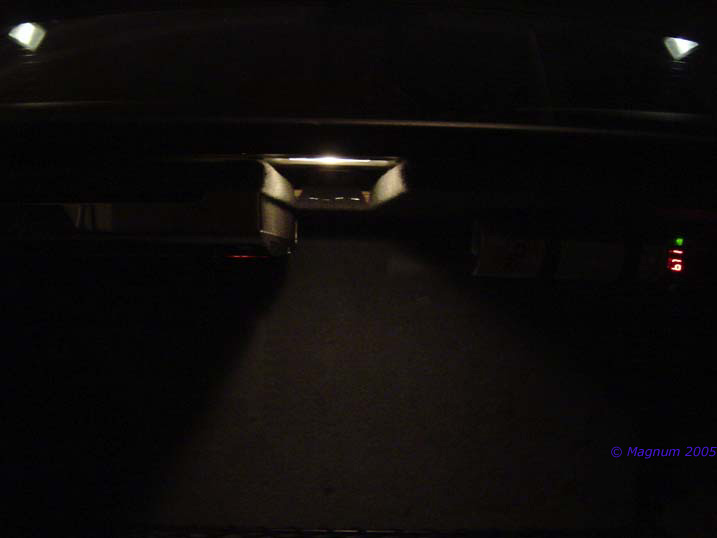
| Dark shot to show
the trunk light is still shining through the cutout: |
|
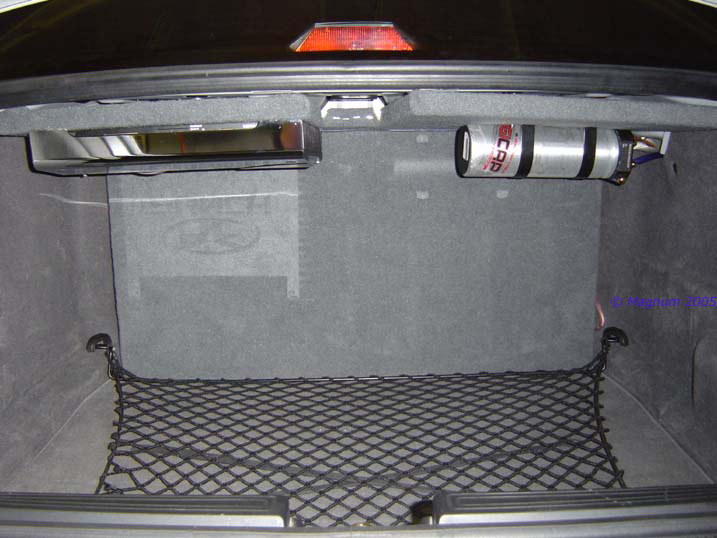
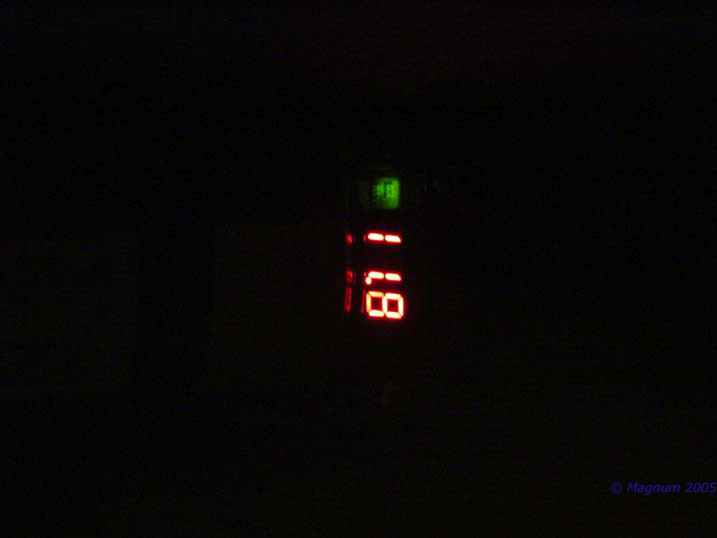
| Dark shot of the
cap, engine off: |
|