| I started out by
removing both passenger and driver side trim pieces below the center
console and dash area. These are in two parts: |
|
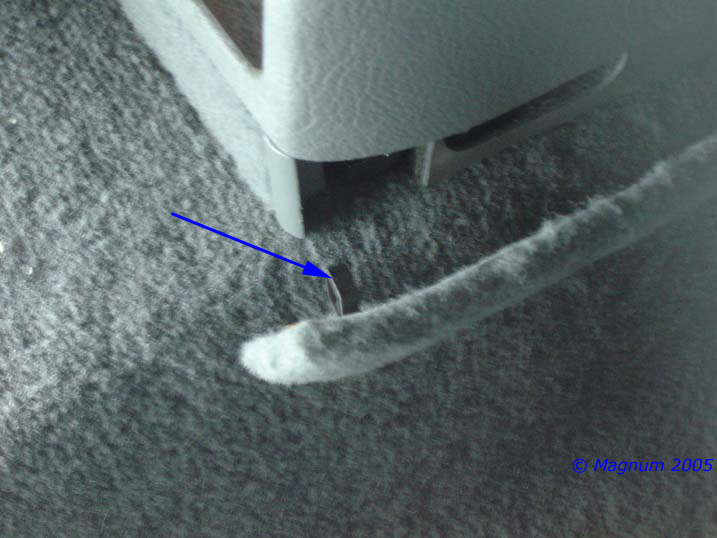
| This is the
passenger side rear trim piece, this clip slides back and out. DO NOT
try and pull straight out as the clip may break off: |
|
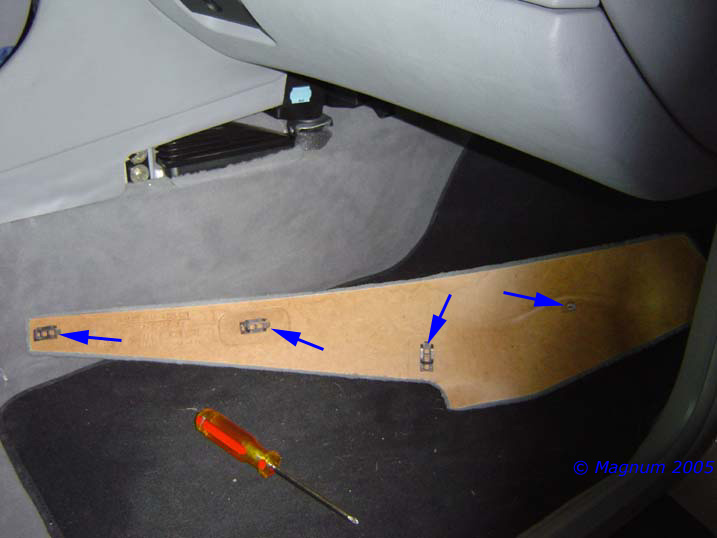
| Here’s a look at
the back side of the passenger side front trim panel. 3 clips and 1
screw hole: |
|
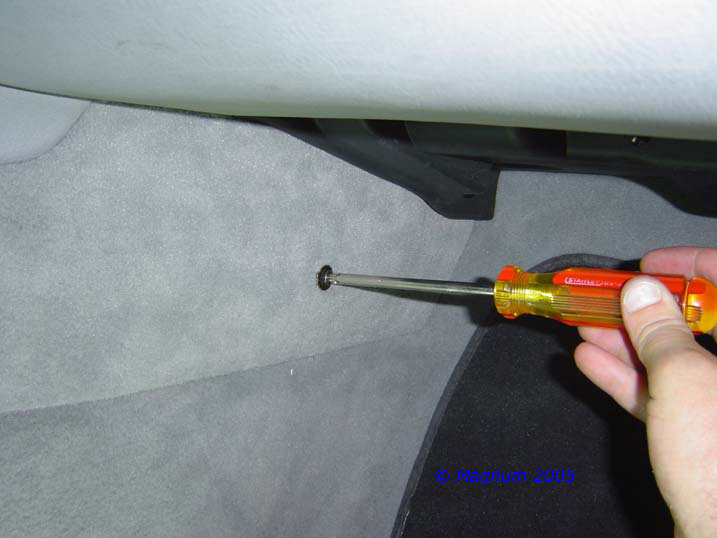
| Driver side, the
screw is somewhere by the arrow: |
|
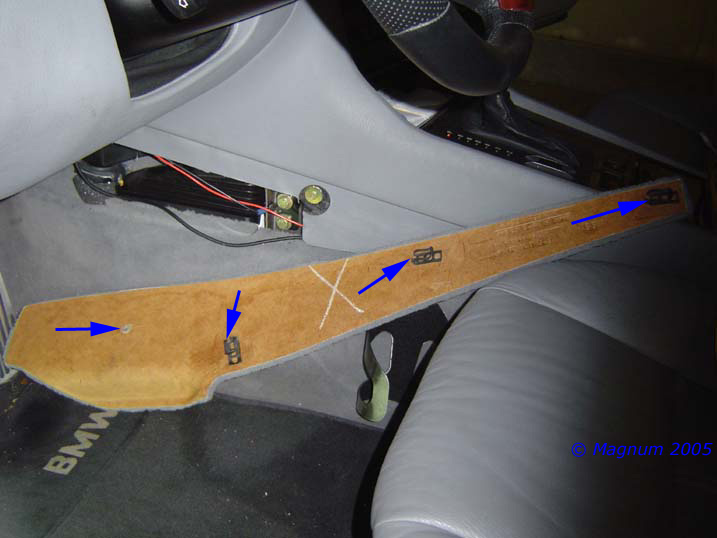
| Driver side trim
panel, again 3 clips and 1 screw hole. Remove the back section just
the same as the passenger rear piece: |
|
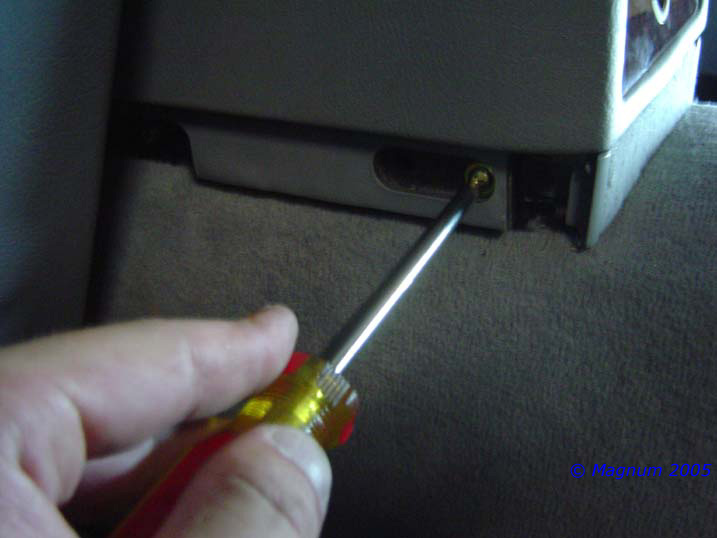
| A small screw for
the driver and passenger sides release the rear trim piece below the
power outlet and rear vents: |
|
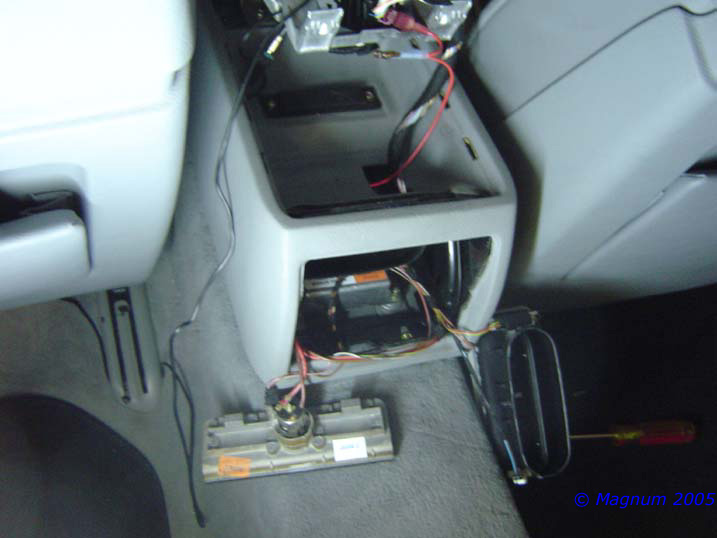
| The vent and power
outlet where somewhat hard to figure out how to release. The best
this I can tell you is to take your time. I ended up separating the 2
by working with the power outlet panel. This is the vent: |
|
| Vent out and power
outlet out: |
|
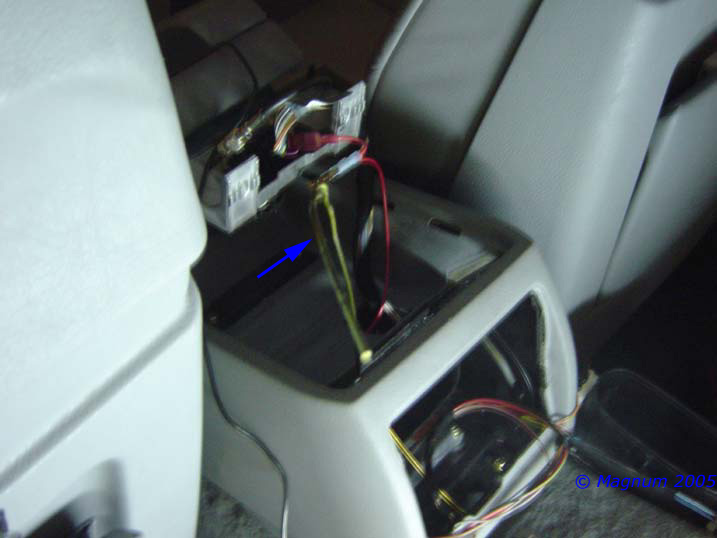
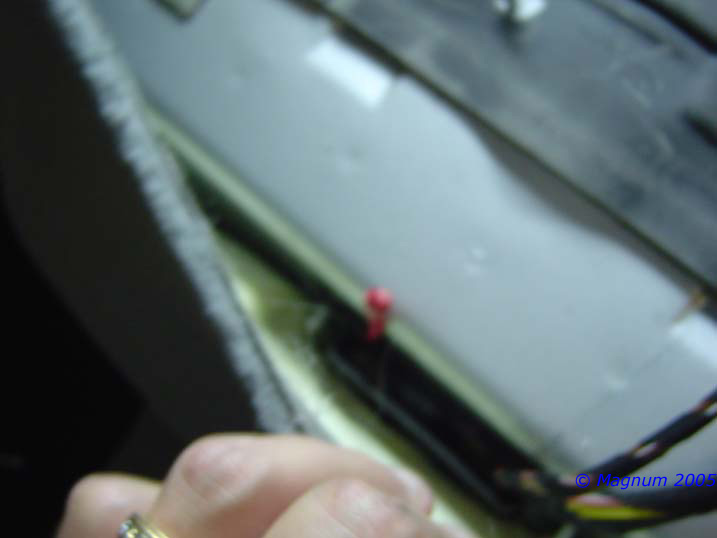
| Sorry for the
crappy pic. I had best luck running a coat hanger from the rear
center console to the rear seat. Make sure you tape up the end of
the coat hanger good to help in NOT slicing existing wiring: |
|
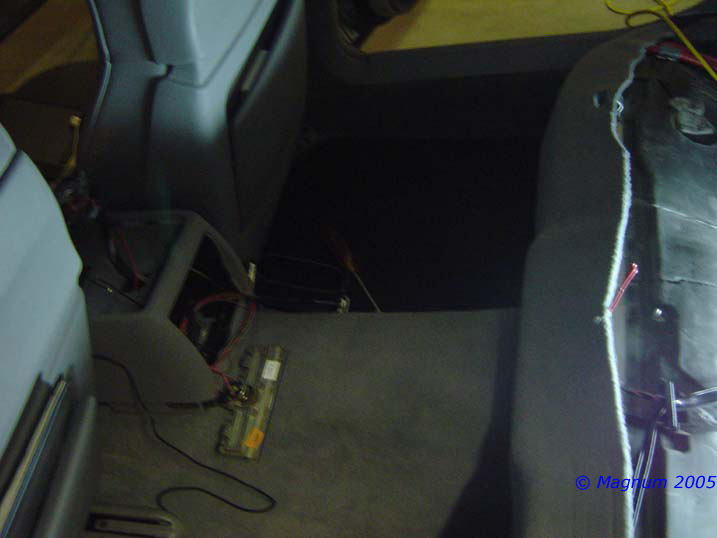
| Here’s the coat
hanger coming up from the middle of the rear seat, fished under the
carpet: |
|
| Coat hanger is
running right under the carpet in the center hump: |
|
| Tape some string on
the coat hanger and pull it through. I used 3 pieces of string, 1 for
pulling cable, 1 just in case and 1 to leave should I ever need to
pull more cable: |
|
| Tied of the end
while pulling the string through just is case I got to jerky and
accidentally pulled it through: |
|
| String is pulled!: |
|
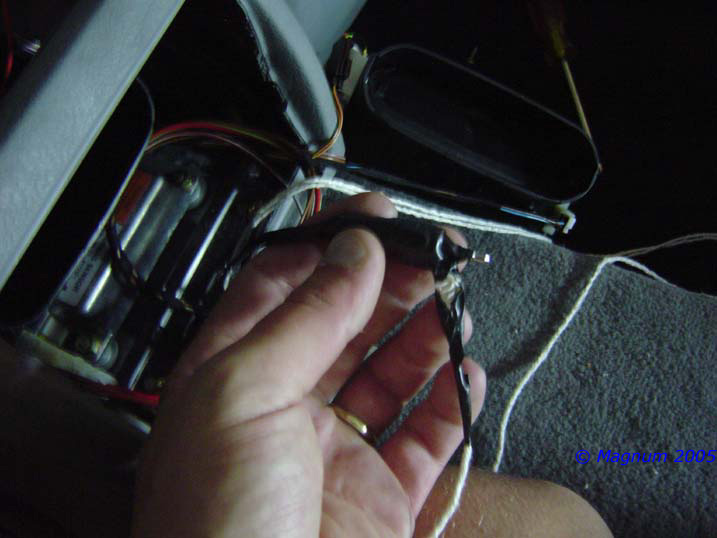
| Now attach your
cable[s] to the string and pull some cable: |
|
| It took some
pulling but it went through: |
|
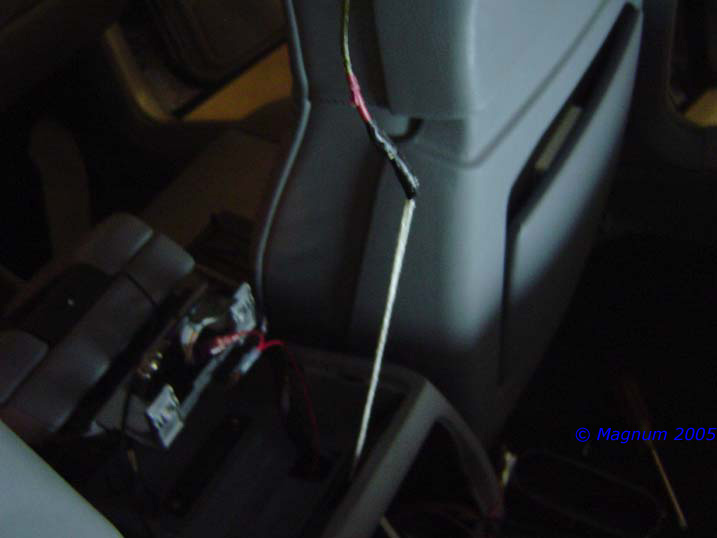
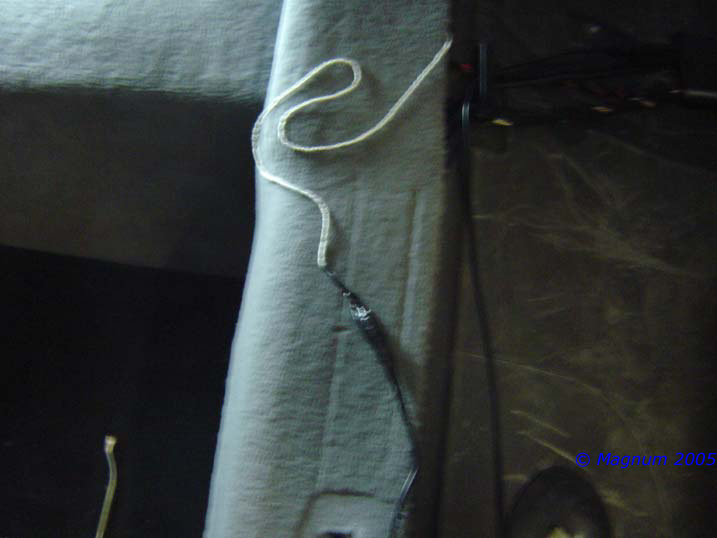
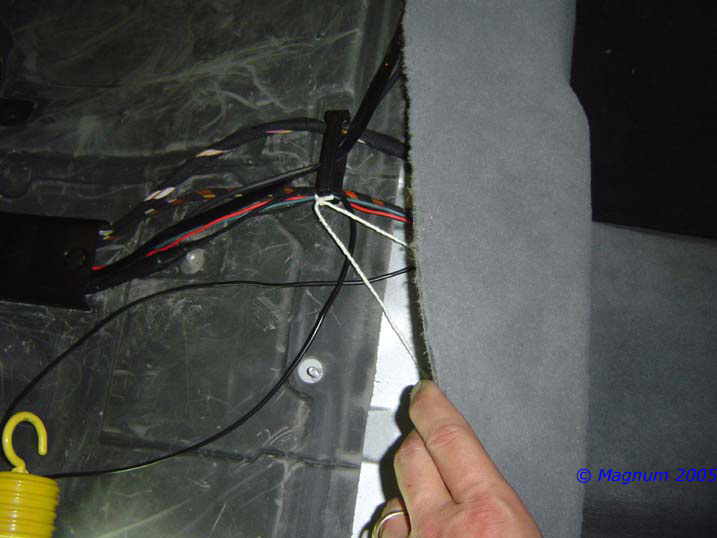
| I tied my extra,
future use, piece of string off here and tucked it below the carpet: |
|
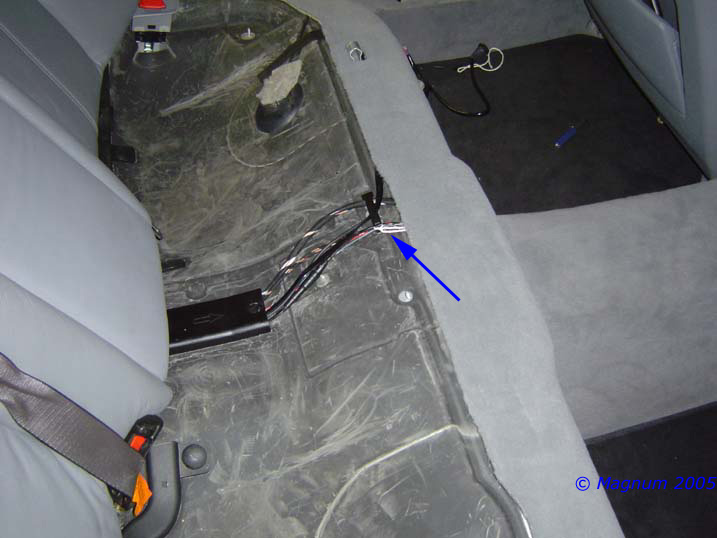
| Like so: |
|
| You can’t hardly
see it, huh. Put your seat back in and you’re done: |
|