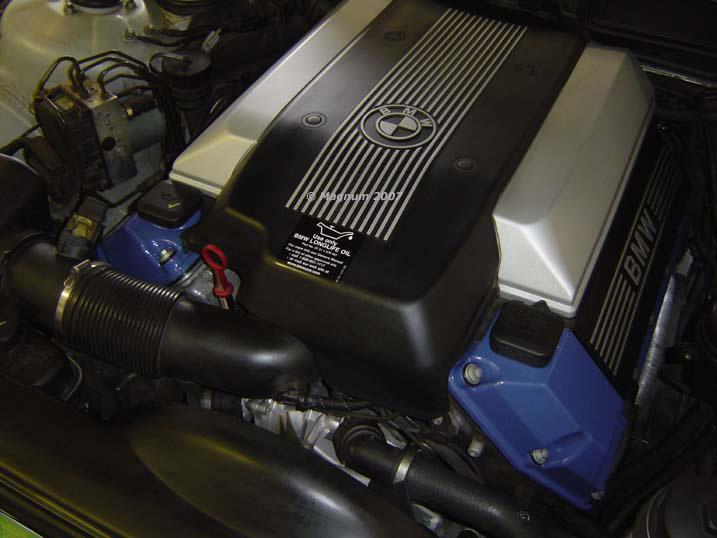
| First things first,
remove the acoustic cover: |
|
| So we’ll be
removing the fuel line that connects to the fuel rail on top of the
intake. This line will be under pressure, so we need to de-pressurize
the system. To do this I started the car, got out with it running and
removed fuse 17 from the fuse compartment located in the engine bay.
Pull fuse 17, leave it out and let the car slowly die, then I put the
fuse back in so I wouldn’t forget about it later:
Now Disconnect the Negative Battery
cable in the trunk! |
|
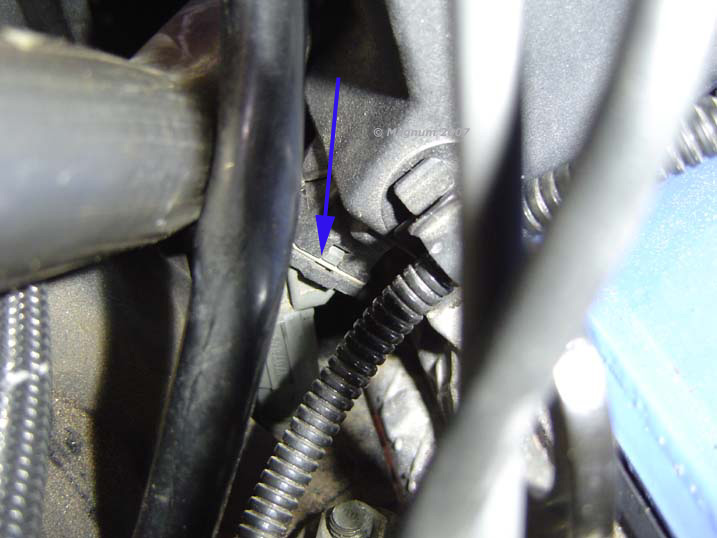
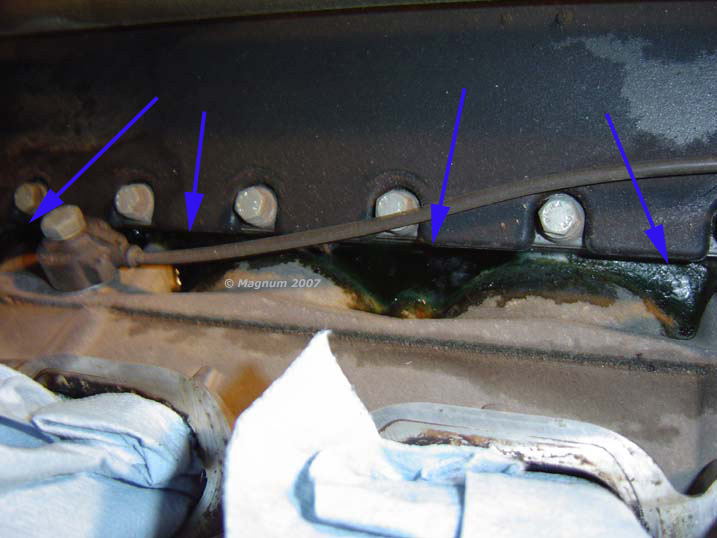
| Now that the cars
fuel system has been depressurized, and the battery has been
disconnected we can remove the fuel line. This is located behind the
passenger side of the engine and attached to the firewall. Have a
metal can ready because some fuel will drain out of it, I like to use
a soup can. To disconnect this, simply push 1 towards 2 and 2 towards
1, once this is done hold the line over your disposal can and drain
out the fuel: |
|
| I took a "before" pic so I could route all the wires, cable and hoses just as they were. I guess it's my OCD, but it worked superb!
NOW STOP: You have 2 options to thinks about here, you can drain the coolant out via the drain hose on the bottom of the radiator OR do what I did and leave it - your call. I left it and used and old blow up pool I had had to catch all the coolant that dumps once you remove the rear accumulator. Then once I got the valley pan cap off I scooped all the coolant out with a cup and then took shop towels to soak up what was left. |
|
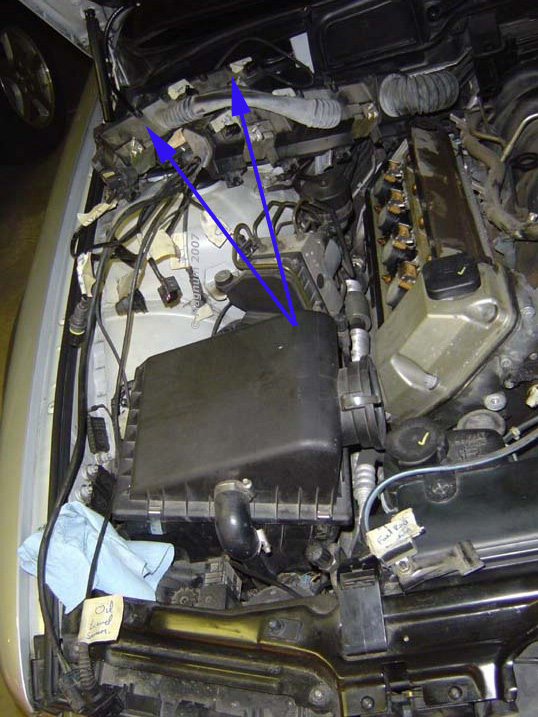
| Now we’re ready
to remove all the connections. I labeled everything by naming it on
masking tape, wrapping the name tag on the connector, and then
labeling where it plugged in on that particular part. Anal, yes, but
it will save a ton of time later when you can’t remember what plugged
where, a lot of these plugs look alike. Oh, I also tapped over each
plugs end because some of the plugs have little gaskets in then that
can fall out. Also remove the MAF and tube leading to front of
Intake: |
|
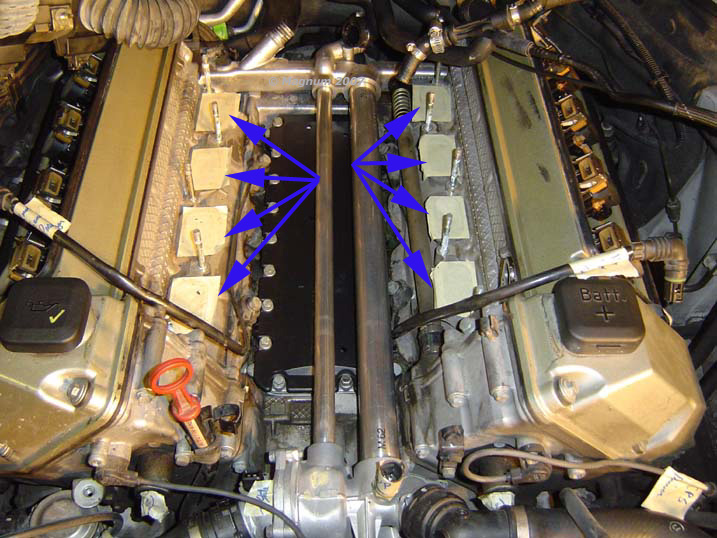
| Now, onto the
clips….These are somewhat of a PITA. I had great luck working from
the inside of the electrical boxes. You need to unhook the back sides
of the clip and there are 4 on each side and they connect to the fuel
injectors: |
|
| OK, now that we
have all 8 of those off we need to sing them over and get them out of
the way. I thought I’d cheat and just pull the wires over and around
the dipstick, but that isn’t happening! So in order for this to work
crawl under the car and unhook 2 plugs, 1 goes to the oil level sensor
attached to the lower oil pan and the other I’m not sure what to but
you can’t miss the 2 of them when you are laying under the car. Both
cables run from under the car, up to the front and are taut. Sorry no
pic, but well, I am a 2 hand shade tree mechanic….re NO HELPERS: |
|
| Here’s what the
driver side looks like with the electrical box unplugged: |
|
| Now sling these
electrical boxes out of the way: |
|
| ……And keep them
there…….. |
|
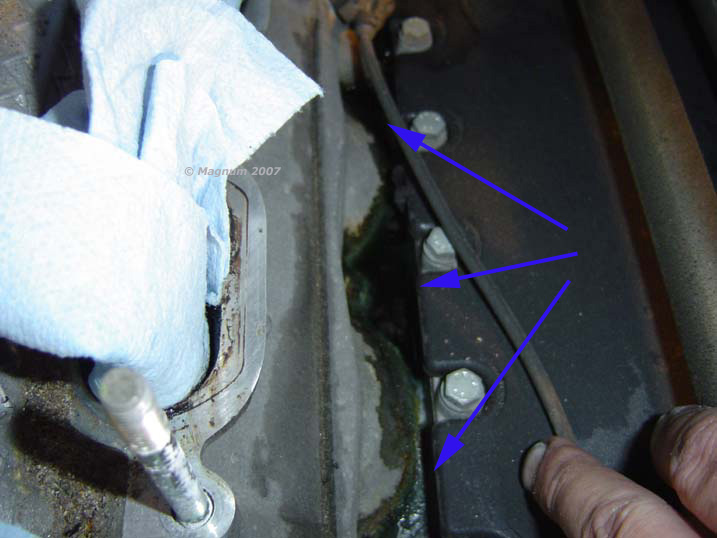
| Now that
everything is disconnected from the Intake, let’s remove the Intake.
There are 5 nuts on each side, 13mm if I remember correctly and the
tube that runs from the front OSV to the rear manifold cover. To get
this tube disconnected I chose to slowly and carefully lift the Intake
up and shift it towards the rear to disconnect this tube. I found
that when I shifted the Intake towards the rear of the car, this tube
basically fell right out. This pic shows NOT everything disconnected
yet, but that’s because I took it after the fact. Remove the nuts,
CAREFULLY lift the Intake up, back and out: |
|
| Now that the
Intake is out, WE HAVE THE MONEY SHOT, proof that my valley pan was
leaking! Look at this shit, what a mess and yes that’s coolant pooled
all along the side!: |
|
| More shots of
all the coolant!!!!!: |
|
| Ok, sorry not to
get off track, but I was pretty happy to see all that coolant because
I knew that was the origination point of my coolant leak! Now, you
need to get the Intake ports COVERED, DO NOT leave them open for stuff
to fall in. I immediately stuffed shop towels in them, but shortly
before I moved forward I taped them off. You’ll see later: |
|
| As you can see
in the last pic those damn tubes run right over the top of the valley
pan! Well I have already replaced My Water Pump so I’m going in from the rear coolant manifold this time. There are 6
bolts holding this on, 3 on the left and 3 on the right. 4 of them
are easy to get at and 2 of them are rather difficult, totally doable
though! I loosened these 6 bolts and slowly pushed it back and let
the coolant drain [ok gush] into a blow up pool I placed under the
car. That’s right I did not drain the coolant system from the drain
plug on the radiator or the engine block. I just let it flow out of
the back when I broke the seal on the rear coolant manifold, worked
perfectly! Here you can see one of the gaskets stuck on the engine
L. I also removed the Aux Water Pump to assist in getting more space
to take off the rear coolant manifold: |
|
| Here’s a pic of
the rear coolant manifold [accumulator] gasket that came off engine.
I was able to peel it off pretty clean with a little persuasion: |
|
| Here’s a pic of
the rear coolant manifold [accumulator]. As you can see the passenger
side came off with the part and the driver side stuck to the engine.
Not a big deal though, these are pretty thick gaskets and cleaning the
residue for a clean seal when the new ones go in wasn’t too bad: |
|
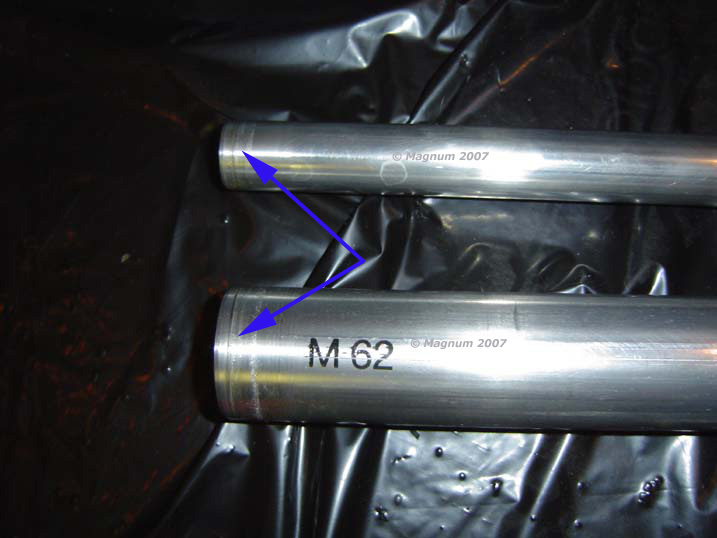
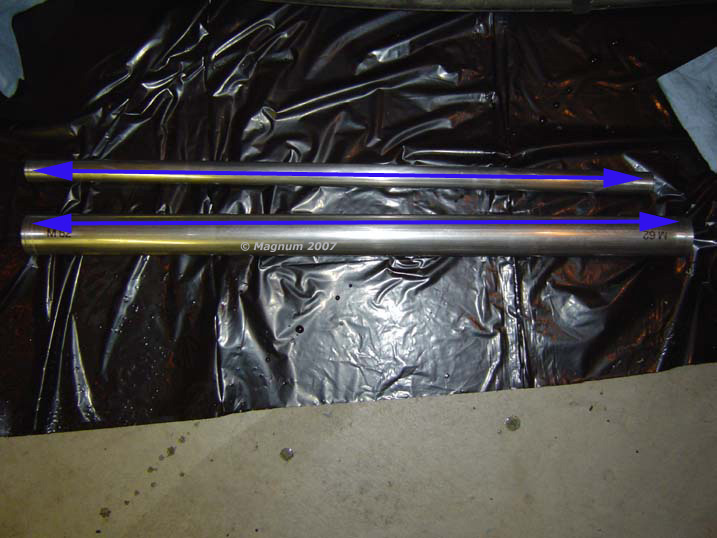
| Here are the
pipes, I’ll need to clean these up before the reinstall. Especially
the ends that go into the water pump and the rear coolant manifold
[accumulator]: |
|
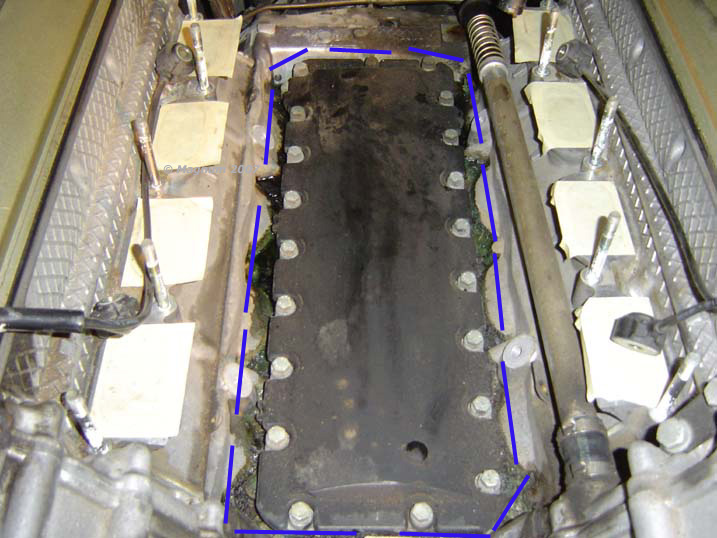
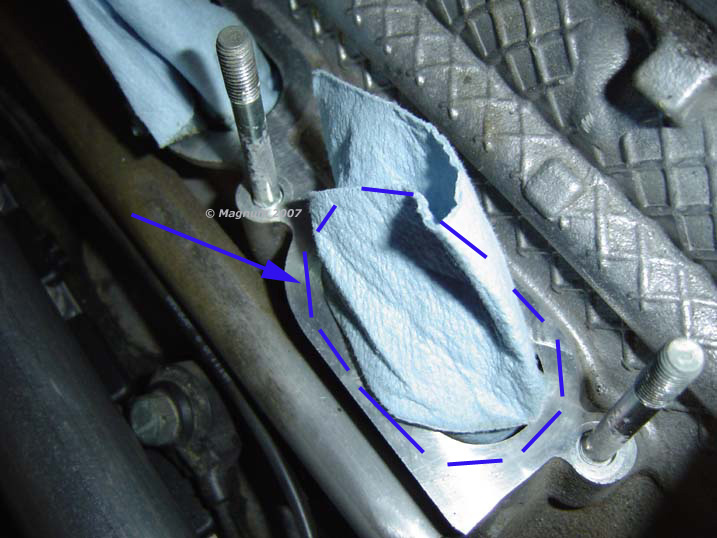
| Finally the
Valley Pan area! The black thing is the Valley Pan Cap & Seal Cover.
The blue lines outline it. You can also see I switch to tape on the
intake ports: |
|
| Look at the
coolant, do ya’ think it was leaking, LOL: |
|
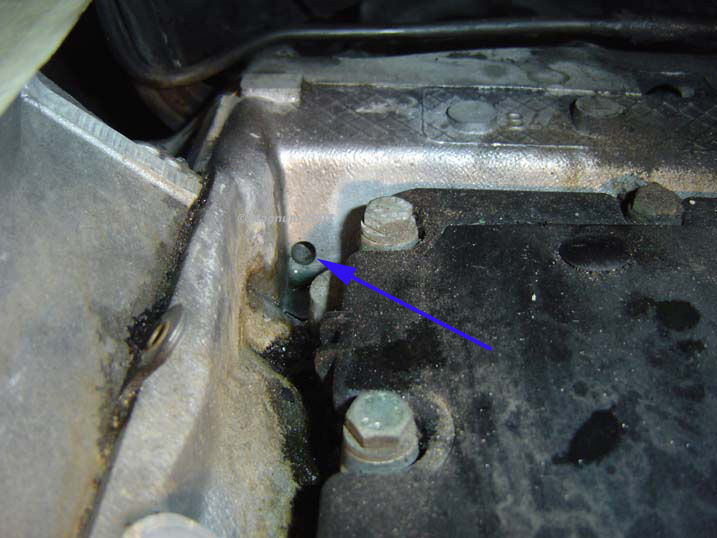
| Now let’s take a
minute to understand how this drains down the back of the engine. My
leak appeared to be coming from the transmission area and upon
inspection from under the car the leak residue was visible from the
bottom of the transmission housing. Sorry I didn’t photograph
everything, but with the Valley Pan leaking it travels out of these
weep holes and down: |
|
| Close up the
passenger side weep hole: |
|
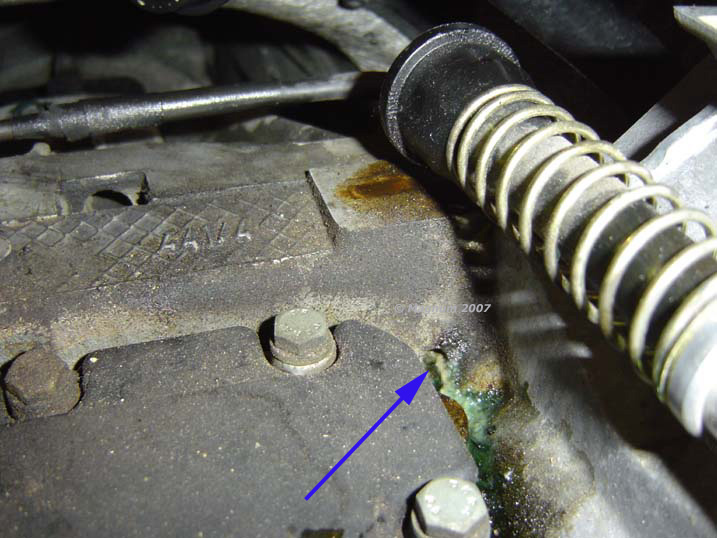
| Close up of
driver side. No worries, if you ever need penicillin just give me a
call, NASTY!: |
|
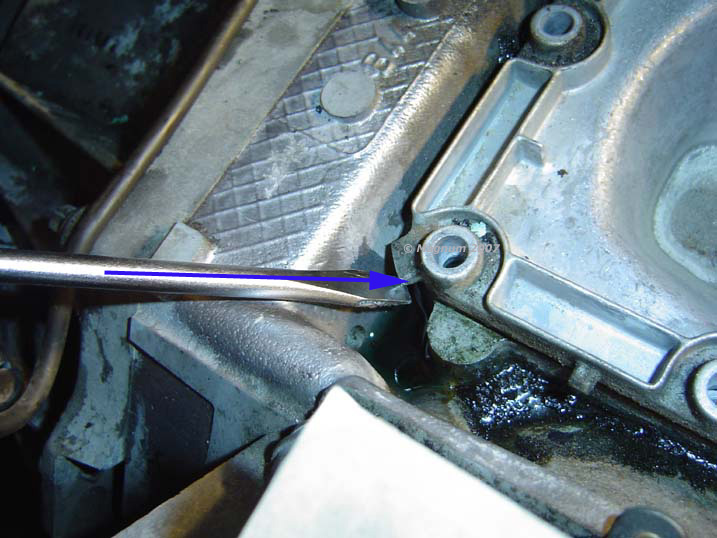
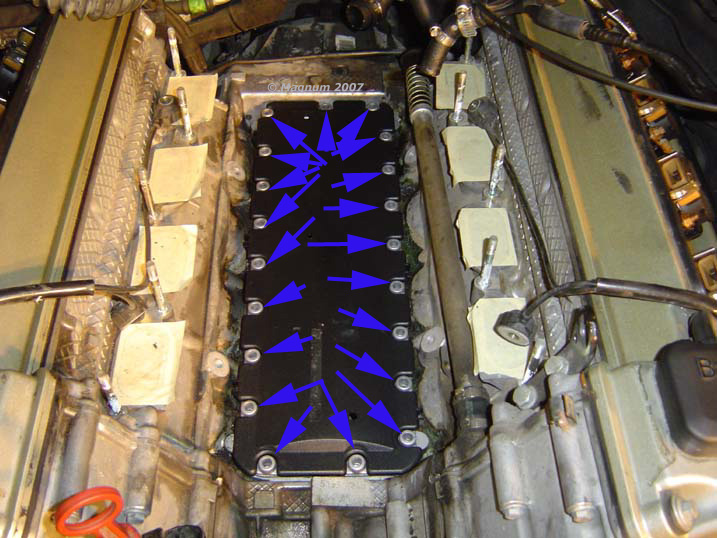
| Alright let’s
get that shit out of there. Blue arrows are Valley Pan Cap Bolts and
Yellow arrows are Knock Sensors. Unbolt the knock sensors first 13mm
if I remember correctly and set them aside, next the valley pan these
are 10mm if I remember correctly: |
|
| This is the
valley pan cap & seal with the black cover removed: |
|
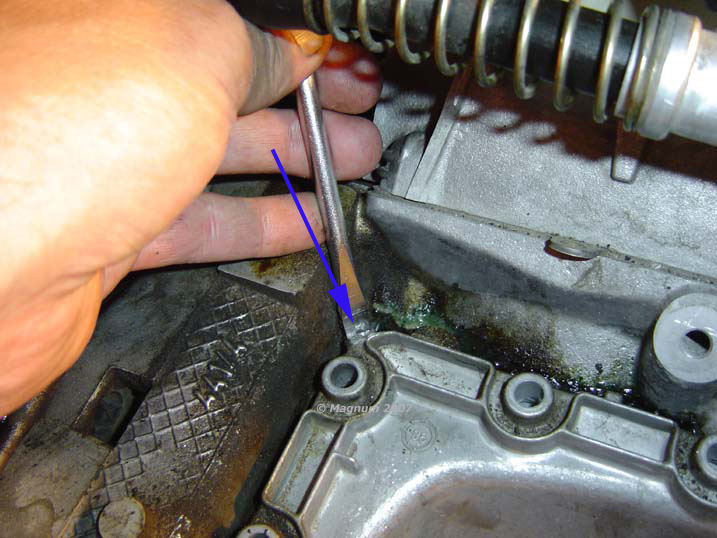
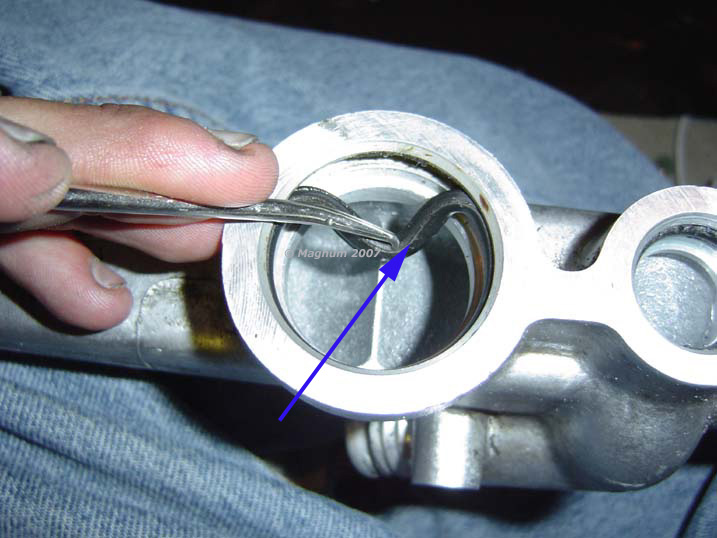
| I took a screw
driver and lightly popped up on these tabs to break what seal there
was on the valley pan. No harm, just don’t rank on it: |
|
| Passenger side
the same: |
|
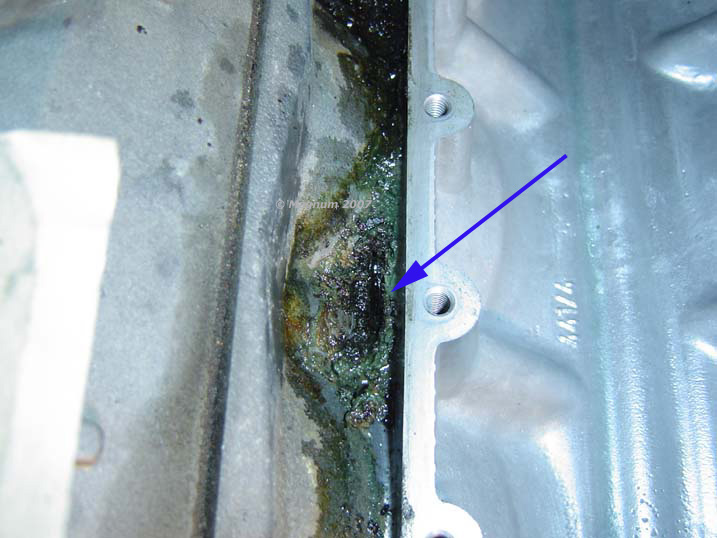
| Here’s the
valley pan with the valley pan cap & seal removed. When you first
remove the valley pan cap & seal this will be full of coolant, I took
all the coolant out so I wouldn’t have the nasty stuff circulating
through. Then I clean around all the edges with my shop vac: |
|
| Look at this,
sorry but it is pretty gross in my book: |
|
| Tape a straw to
the shop vac and suck all that stuff out and clean it up the best you
can: |
|
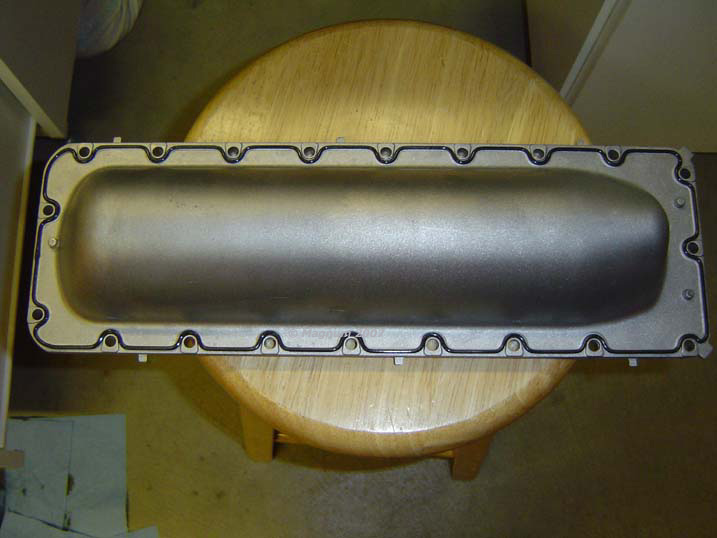
| Here’s the
bottom of the new valley pan cap & seal: |
|
| You can see the
gasket [seal] is already on, hopefully this is a better design than
the old ribbon style gasket: |
|
| New Valley Pan
Cap & Seal in, waiting for the new cover to go on and get bolted down: |
|
| Black cover on
and bolted down. I used a small amount of loc-tite blue and torque’d
it to proper specs: |
|
| Clean these ends
up really well so they seal well when putting them back in: |
|
| Clean both ends,
I actually just cleaned the whole damn thing: |
|
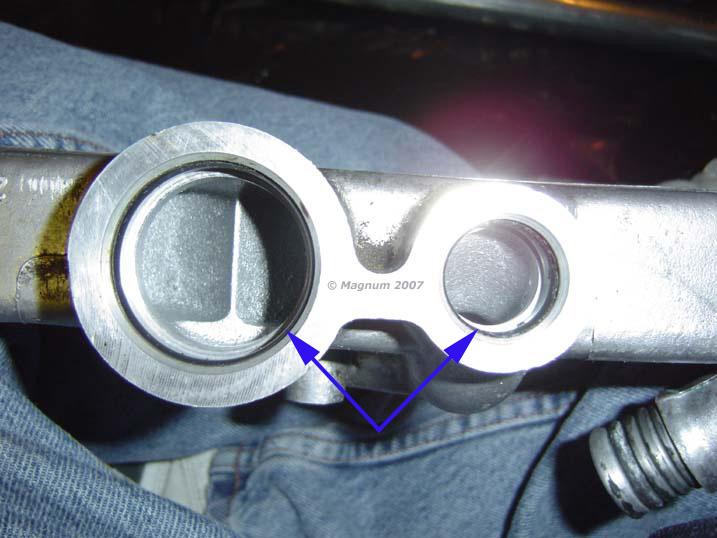
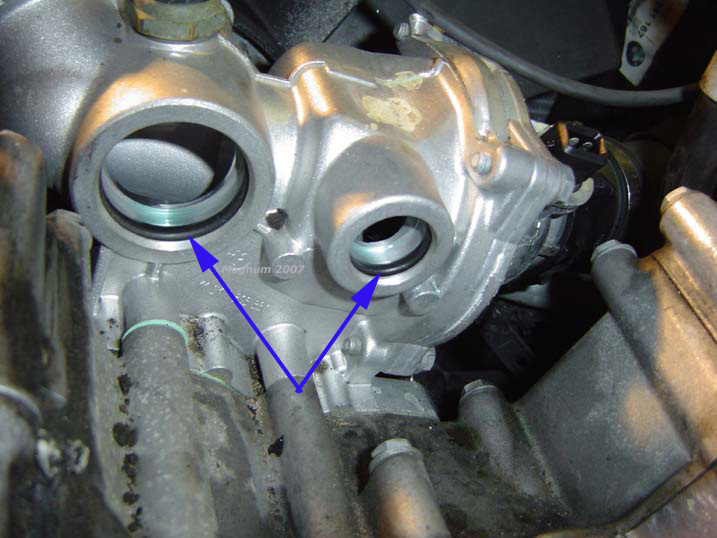
| Pull both these
O-Rings out of the rear coolant manifold [accumulator] and put new
ones in, coat the new O-Rings with a good lubricant: |
|
| Pulling out, be
careful not to damage any surface on the rear coolant manifold
[accumulator]: |
|
| Next, same
thing: |
|
| Now remove the
water pump O-Rings. Mine are fairly new, but for a few bucks I’m not
risking it: |
|
| Now comes the
somewhat tricky part. If you don’t have gasket tack I don’t know what
to tell you! I applied a very light coat of gasket tack where the
arrows dictate, let it set for a minute and then aligned them on the
ends of the rear manifold gasket. This worked perfectly and they held
in place perfectly for reinstalling this. I am also happy to report
that since I have done this they are not leaking at all. Just apply a
light coat on the ends, ‘cause a little goes a long way and is strong.
I put the tubes
in the water pump side first, and then slide the rear coolant manifold
[accumulator] into the pipes. The pipes need to be attached before
you can slide the rear coolant manifold [accumulator] in place to bolt
it down. Once everything is in place, take your time getting it
bolted down. I started finger tight and then went around tightening
the bolts to get a good seal:
|
|
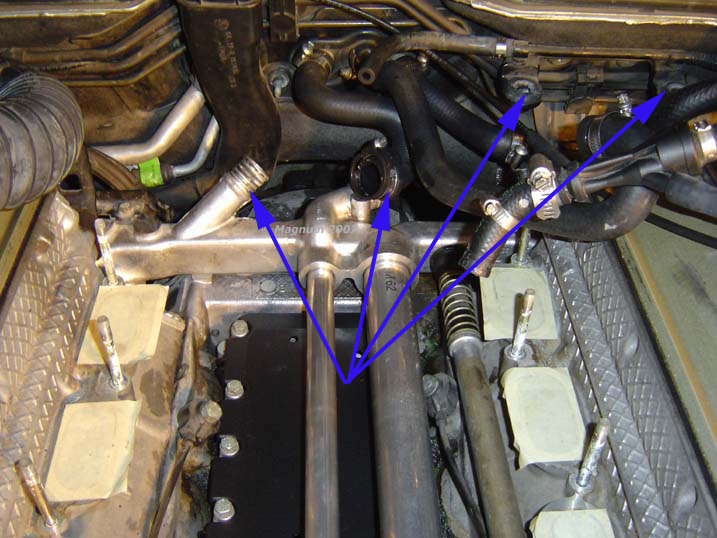
| Hook all your
hoses back up and put the Aux Water Pump back in. Make sure you hook
all the hoses back up now, it’s much easier: |
|
| Here’s a shot of
the rear coolant manifold [accumulator] gasket in place and bolted
down: |
|
| Other side,
gasket in place: |
|
| Here are all the
hoses and Aux Water Pump hooked back up: |
|
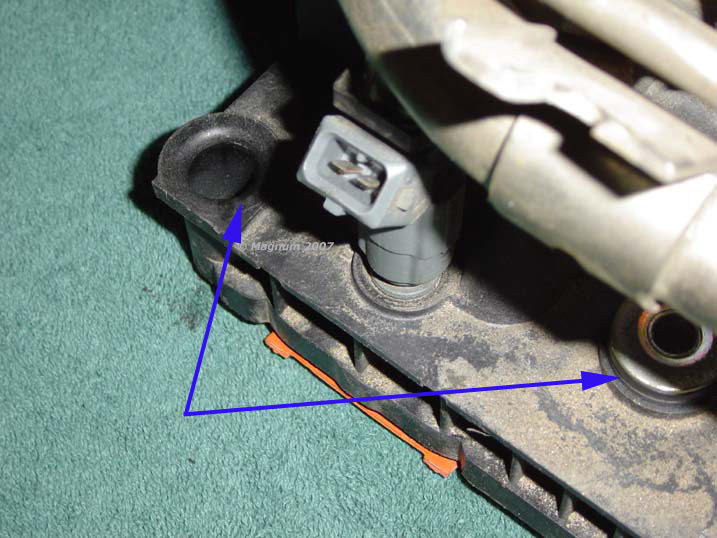
| Moving on to the
intake, it’s on the garage floor. Remove the throttle body [4 bolts,
10mm I remember] and then remove the 6 T-30 Torx bolts off the front
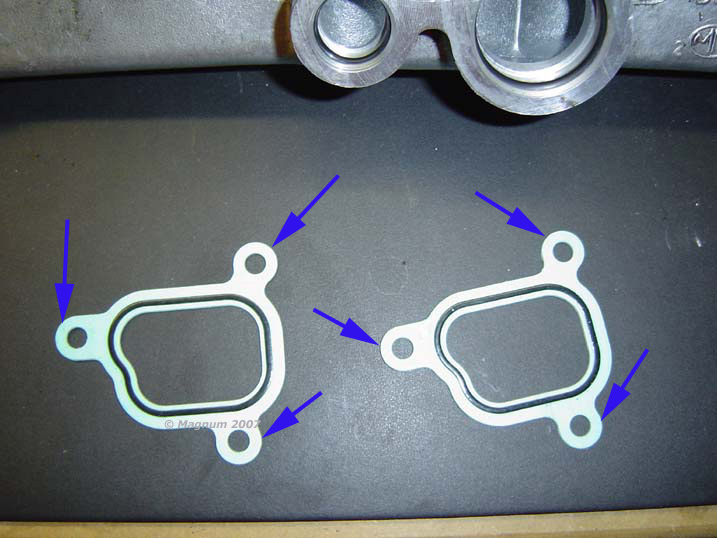
intake cover and replace the gasket and the arrow points to: |
|
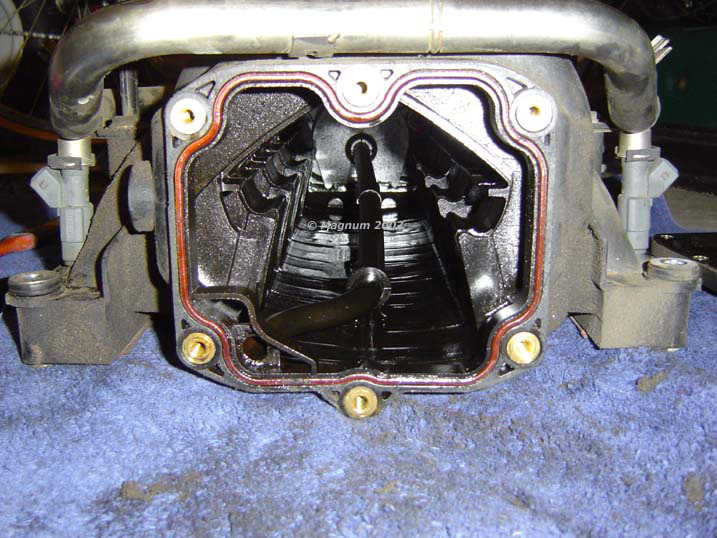
| Just a nice shot
inside the intake for you: |
|
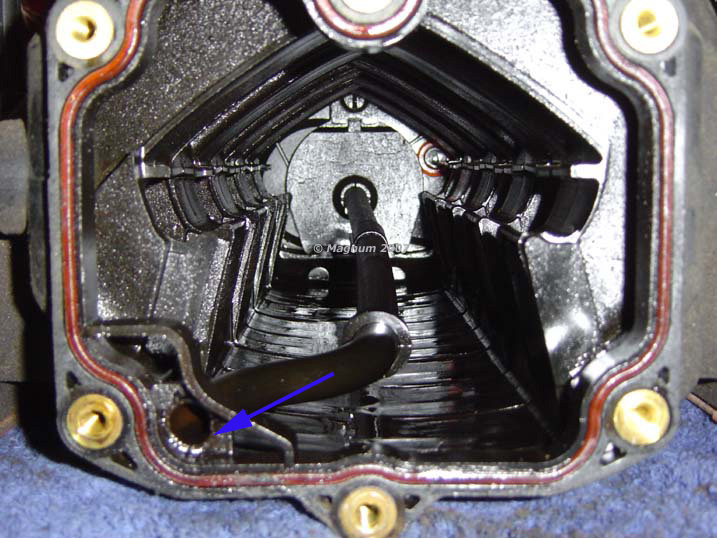
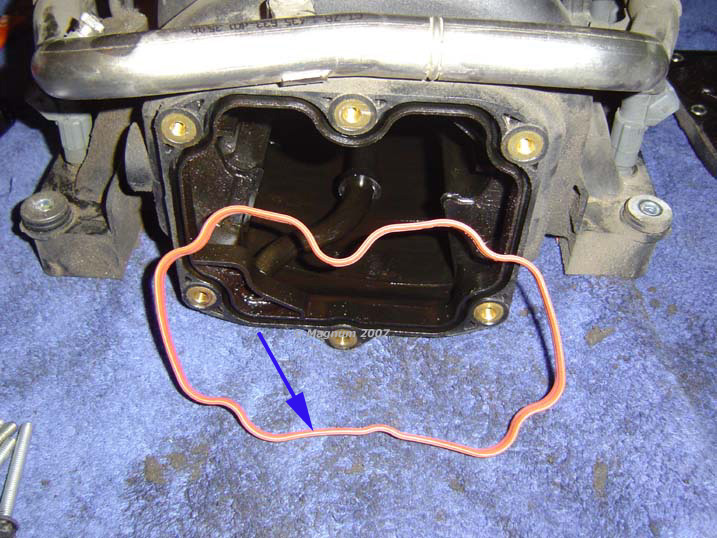
| Another, you can
change this tube out if you want, I didn’t, but if you want you need
to also remove the rear intake cover and replace that gasket too. The
front and rear cover gaskets are the same part number: |
|
| New gasket going
in: |
|
| Time for a
break, so here a picture of the POS old valley pan cap with the seal
[gasket] that is trashed: |
|
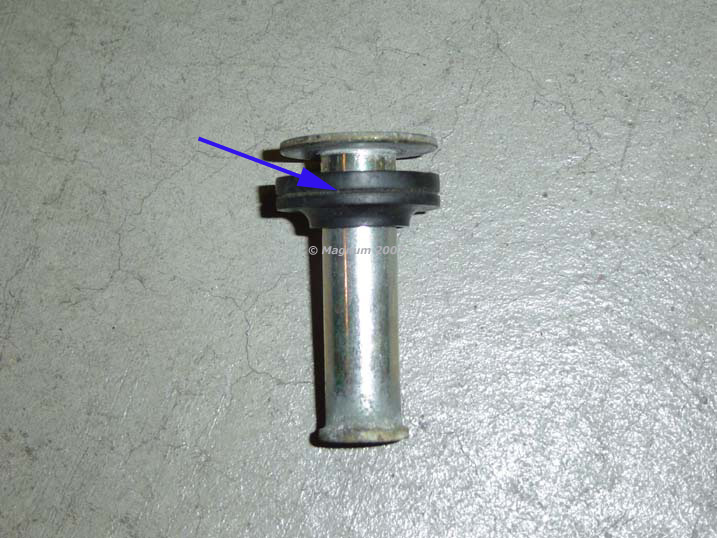
| I pulled each
one of the guides out, cleaned them, inspected the rubber washer and
then lubed them prior to re-installation. They were all in good
shape: |
|
| This is what I
lubed, cleaned and conditioned: |
|
| Ok, as you can
see that’s back in. Now it’s time to take the tape off the intake
ports and clean them. Mine had some grit, so I took a micro-fiber
towel with a small amount of gas on it and wiped them clean: |
|
| Clean around
each, 8 total, I took a soft micro-fiber towel, dipped it in a little
gasoline and then lightly worked my way around cleaning the ports. Be
very careful and DO NOT use any type of abrasive style pad. You do
not want to scratch, nor do you want to scrap, ding, mar or nick. I
hope you get my point!: |
|
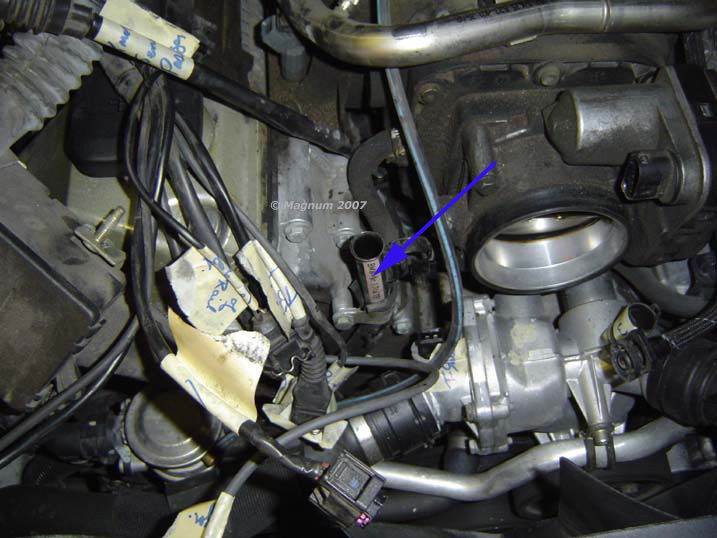
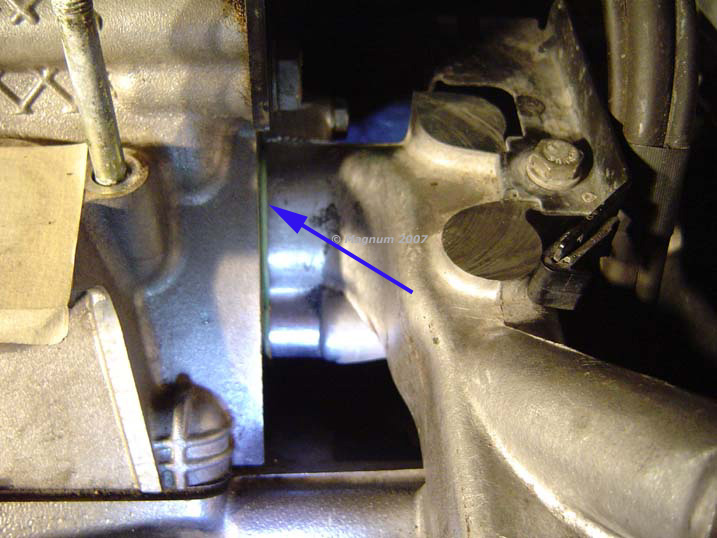
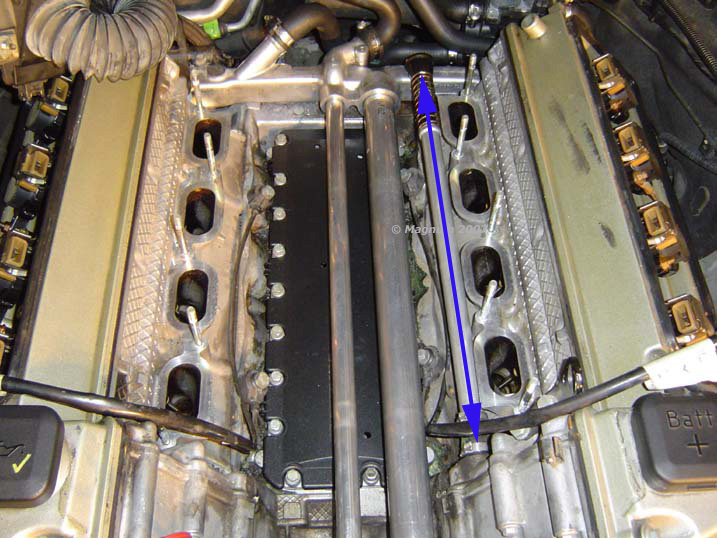
| Prior to putting
the Intake back in I did a once over and found that this pipe had a
crack in the rubber hose attachment. I count myself luck that I found
it because had this part failed I would have had to take the Intake
back off. The crack was small, but the flashlight caught it and when
I flexed the tube sure enough it had a small slit / crack in it: |
|
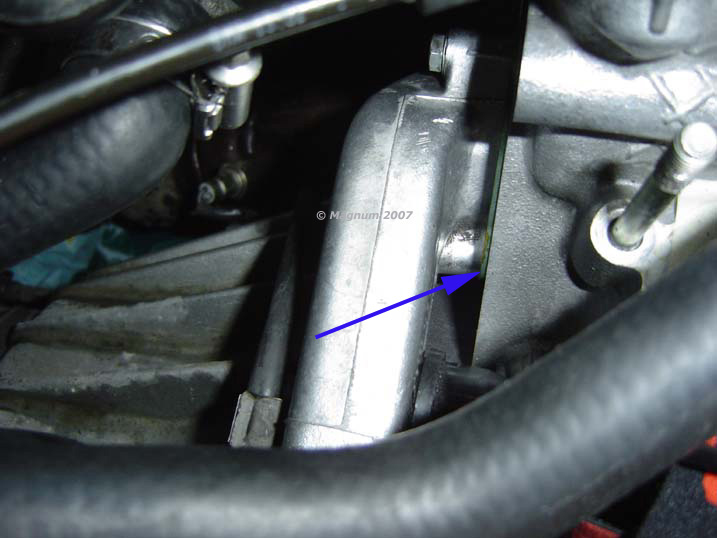
| Here it is, I’m
flexing the tube to enhance the crack: |
|
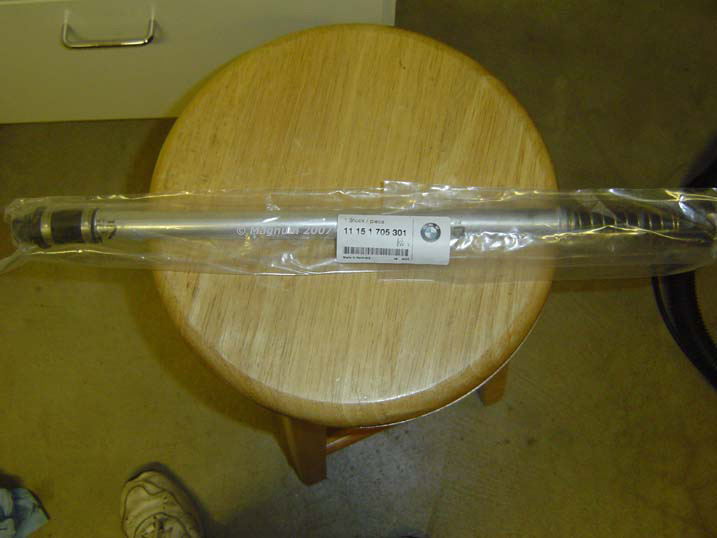
| Here’s the new
part: |
|
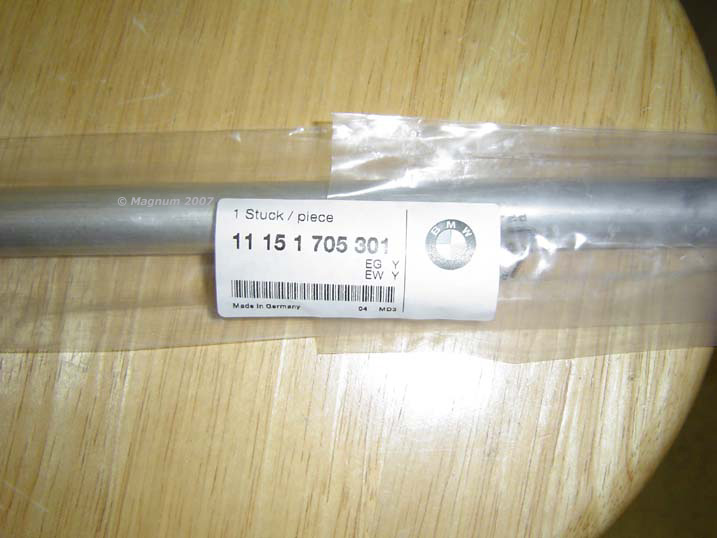
| Close up of part
number: |
|
| This tube just
pulls out, with some force and pops back in. There are no bolts or
anything, just an O-Ring that snaps in place. Make sure you lube the
O-Ring prior to snapping it in place. Now finally put the Intake back
on and tighten down the nuts to the proper torque specs: |
|
| Now assemble
everything in reverse. Make sure you put the new Intake Gaskets on,
once you put the intake gaskets on the intake they stay pretty good,
so you should have no problem flipping the intake over, seating it
properly and then when tightening the intake, tighten from the middle
out alternating sides as you go. Hook up all the wires you removed
and finally put the acoustic cover back on. Looks good doesn’t it!: |
|