|
First remove the seat by inserting the key, turning and then lifting
the seat and sliding backÖ.: |
 |
|
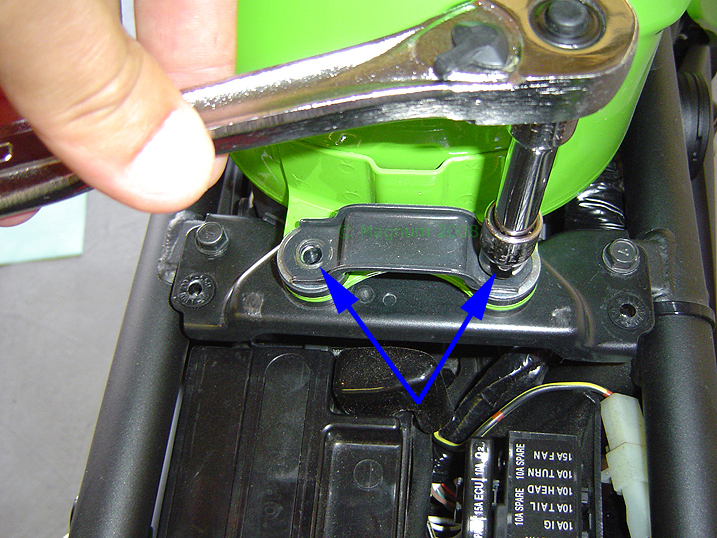
Then remove the two 10MM bolts that hold the tank
down:
|
 |
|
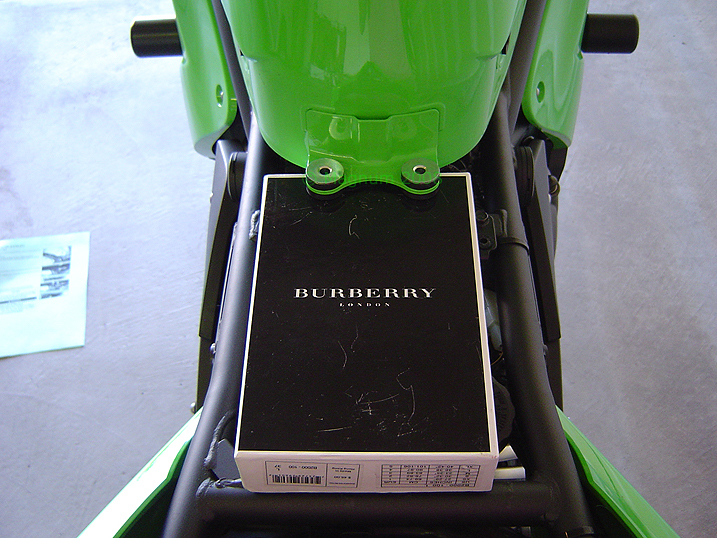
After removing those bolts I used a box to prop
up the tank so I could get my hands under there to disconnect the rest
of the connections:
|
 |
|
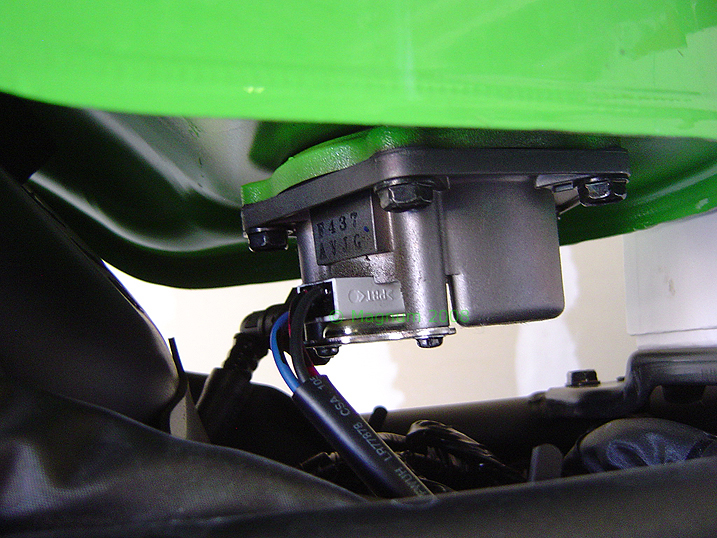
A view of the fuel pump from under the backside
of the tank:
|
 |
|
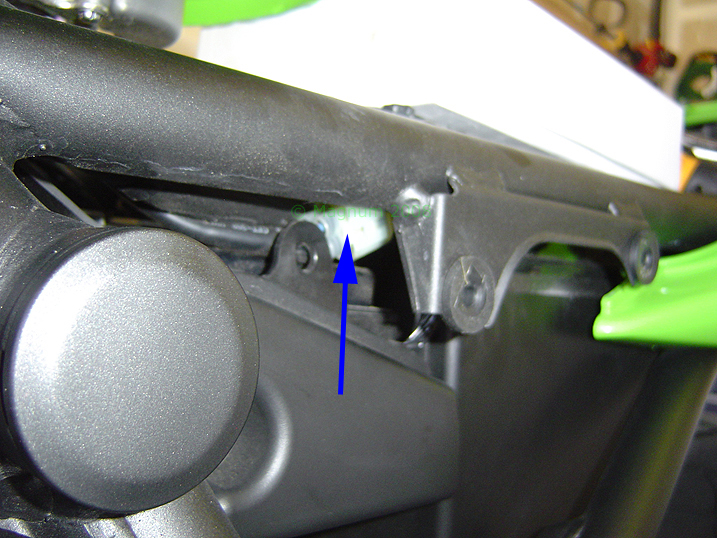
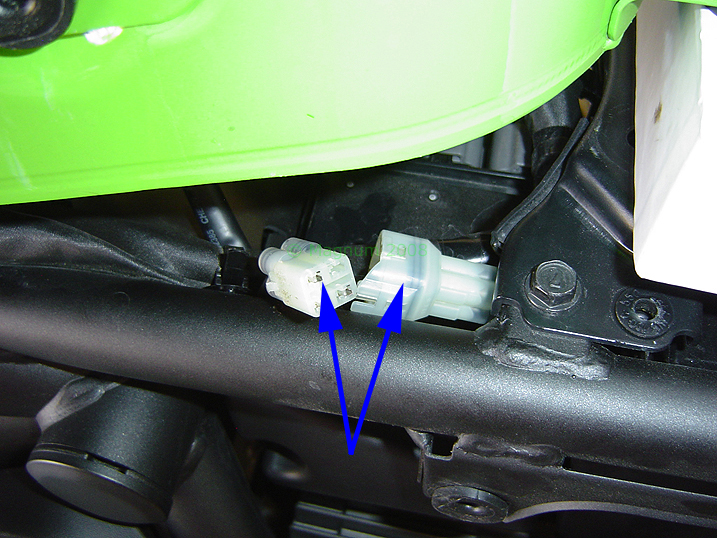
Now locate the fuel pump lead and disconnect it.
Itís on the left side of the bike:
|
 |
|
Like so and then route the end of the connector
under the wire harness:
|
 |
|
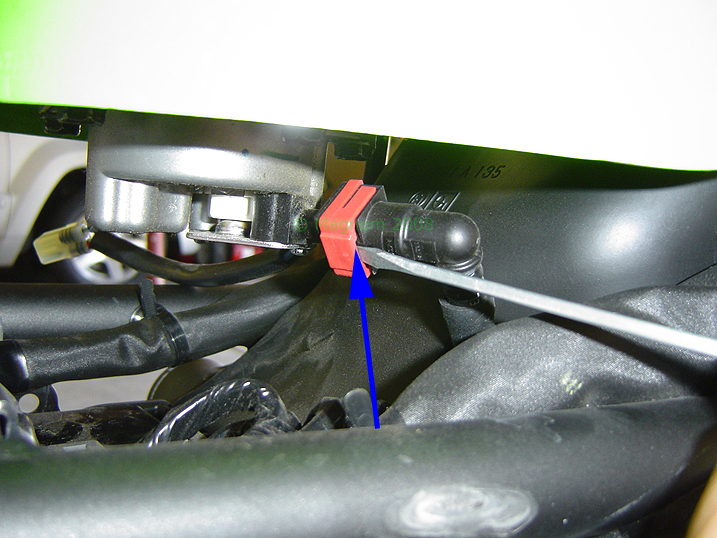
Now on the right side of the bike is the fuel
hose quick connect. Take you flat head screwdriver and slide the red
piece out until it has stops:
|
 |
|
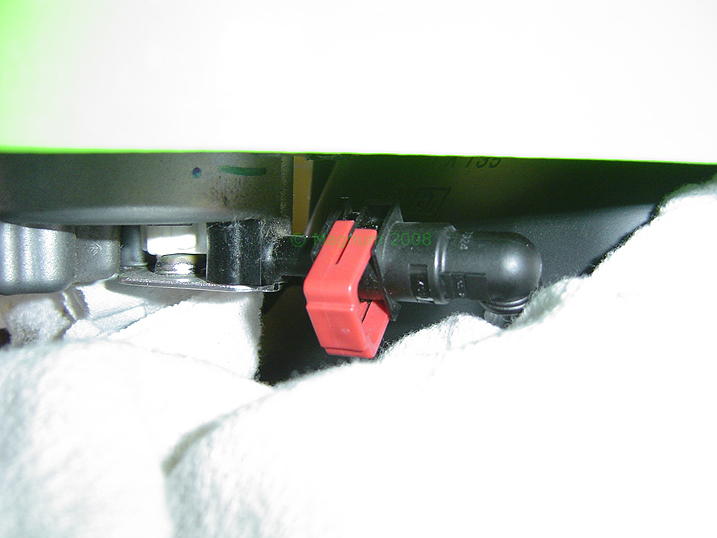
Like so:
|
 |
|
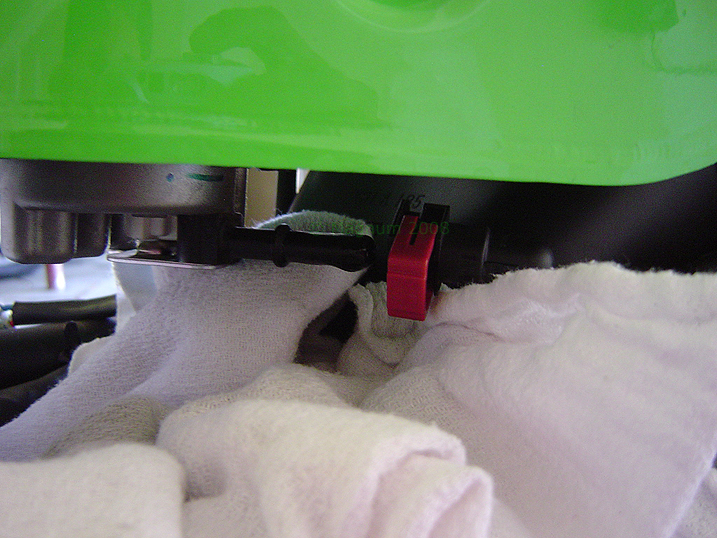
Now pull the fuel line connection off the
nipple. You may need to give it a good tug, but make sure your free
hand is stabilizing the tank:
|
 |
|
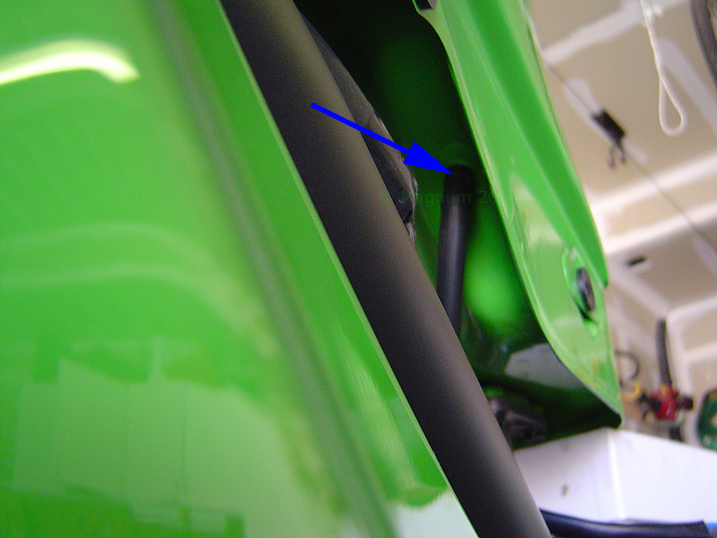
Now remove the fuel overflow line, I just used
needle nose pliers to pinch the end of the clamp and slid the line
off:
|
 |
|
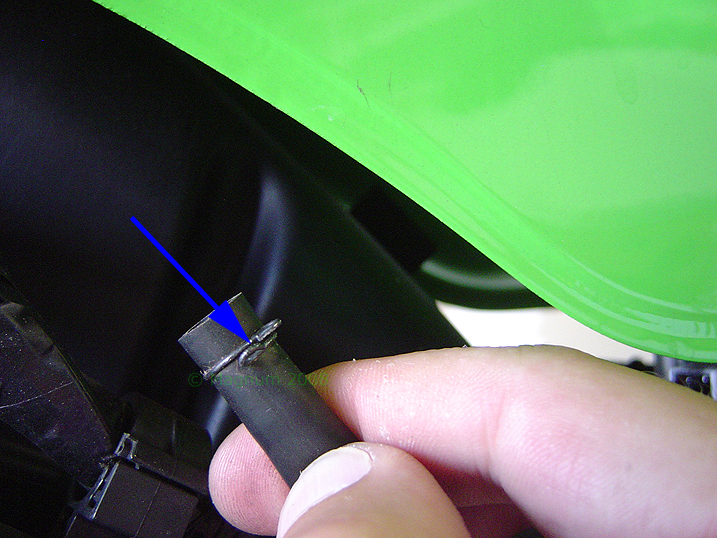
Hereís what the clamp looks like, it is rather
small:
|
 |
|
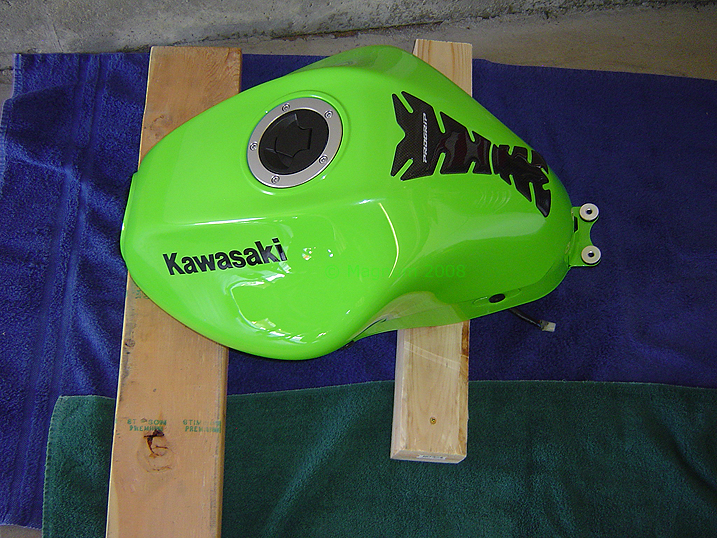
Now youíre ready to pull the tank. I grabbed the
front and rear of the tank and simply pulled up to remove and then
move it out of the way:
|
 |
|
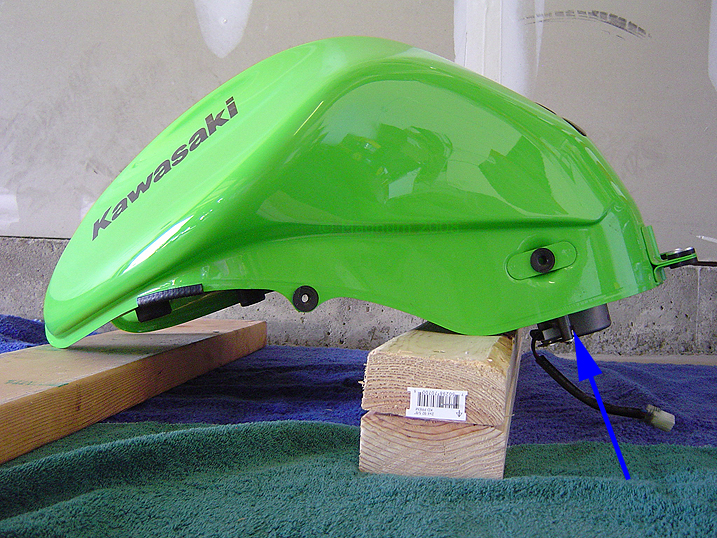
As you can see I set it on some pieces of scrap
wood. I didnít want to set it on the fuel pump for fear of damage:
|
 |
|
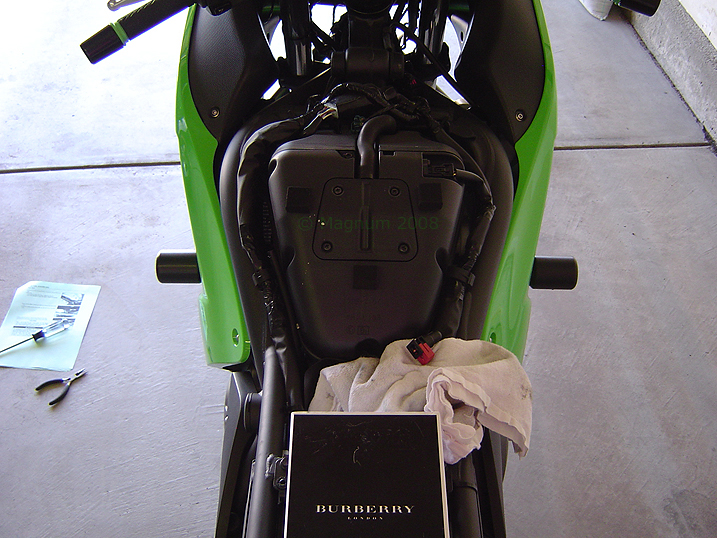
Ok, here what we look like with the tank removed:
|
 |
|
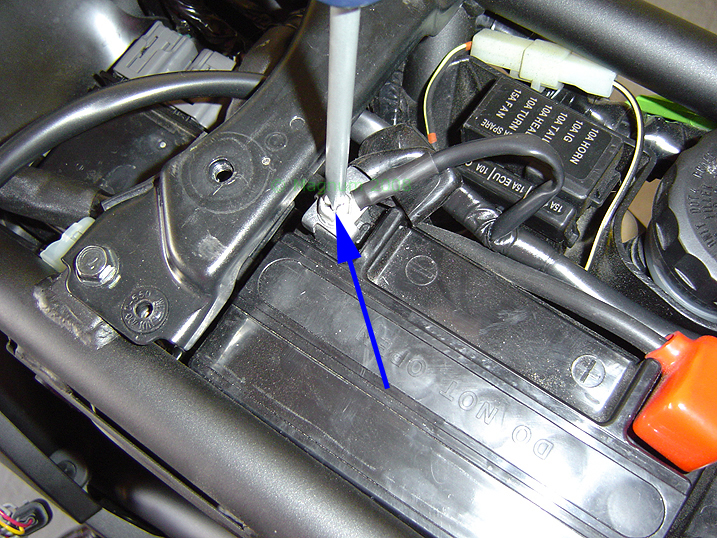
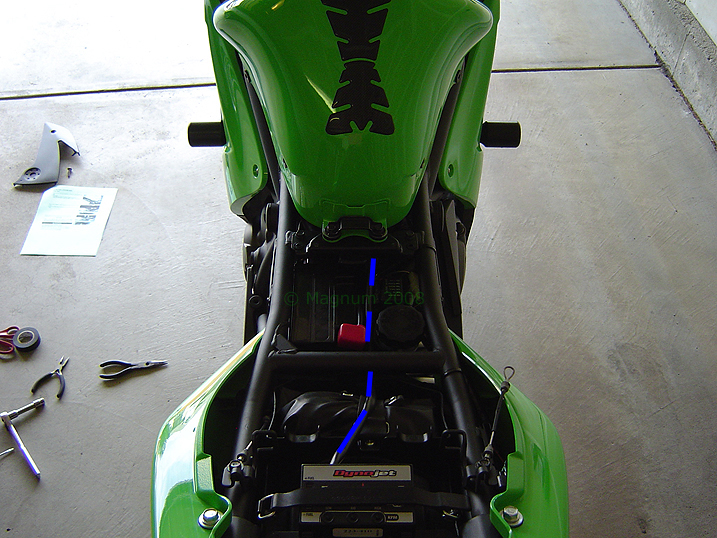
Now we need to get the PCIII ready for install.
First, route the PCIII wires under the frame, then under the tank
mount and hook up the negative lead from the PCIII to the negative
side if the battery:
|
 |
|
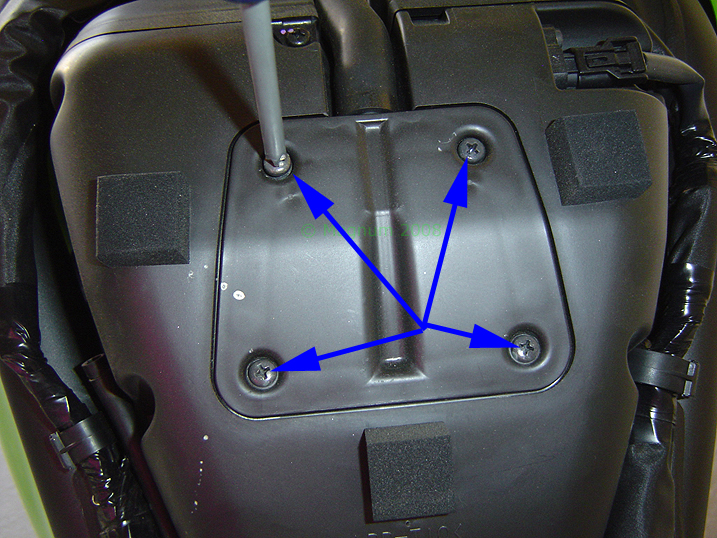
Now itís time to remove the airbox. Remove these
4 philips head screws on the cover:
|
 |
|
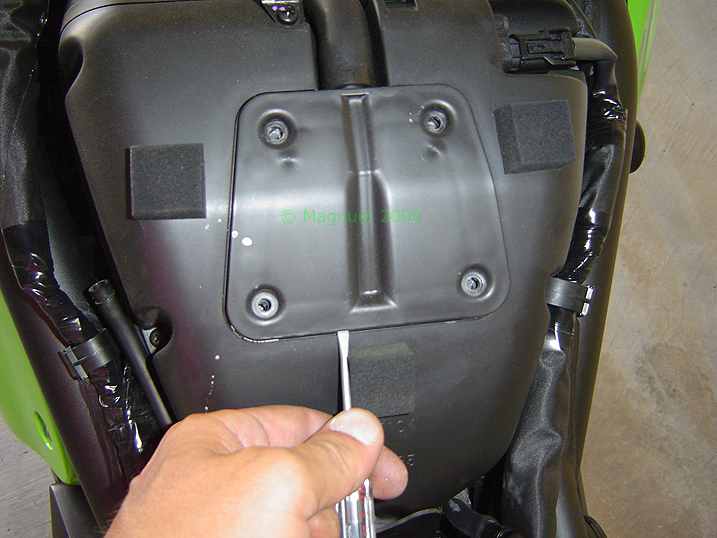
And pop up the cover:
|
 |
|
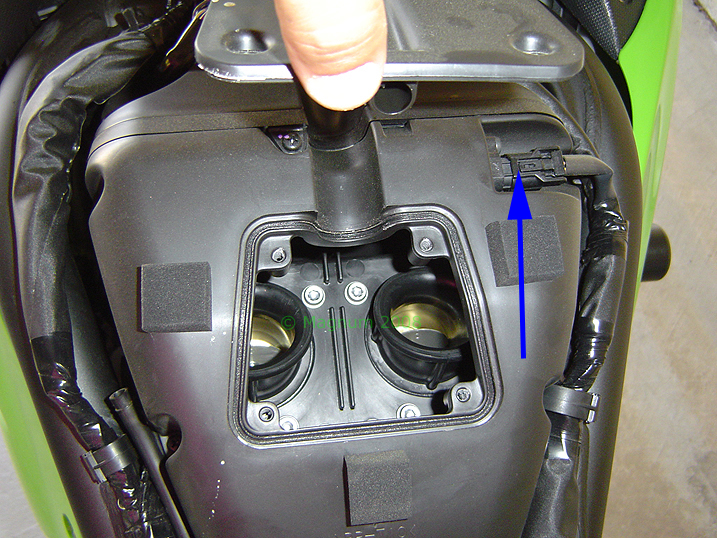
Lift up the cover and swing it out of the way,
then disconnect the Air Temperature Sensor [see arrow]:
|
 |
|
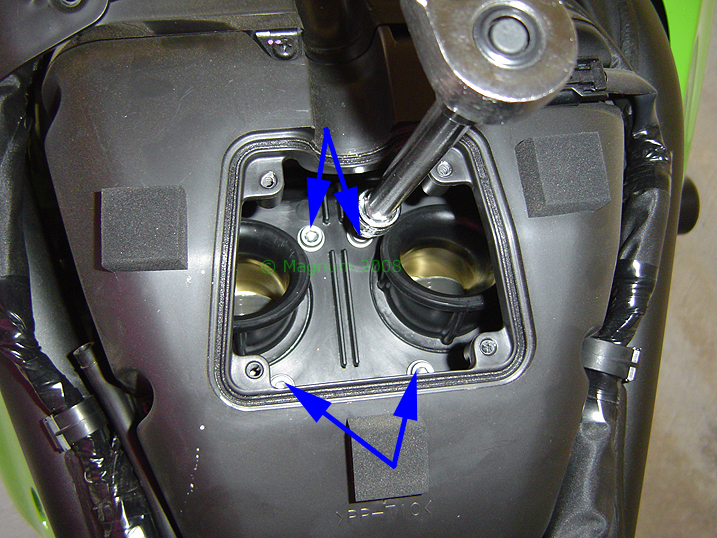
Now remove the four 5MM hex bolts:
|
 |
|
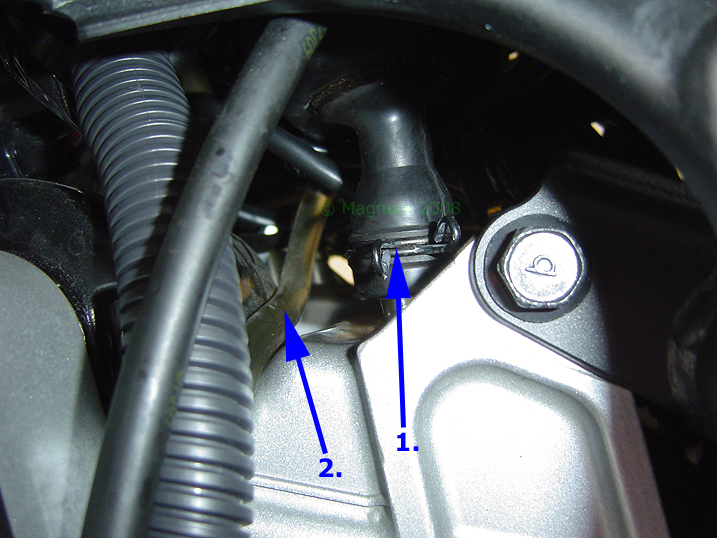
Now go under the airbox and use needle nose
pliers or the like to pinch the clamp together and slide the breather
hose up [#1], and make note of the air filter drain hose [#2]. Now
remove the airbox:
|
 |
|
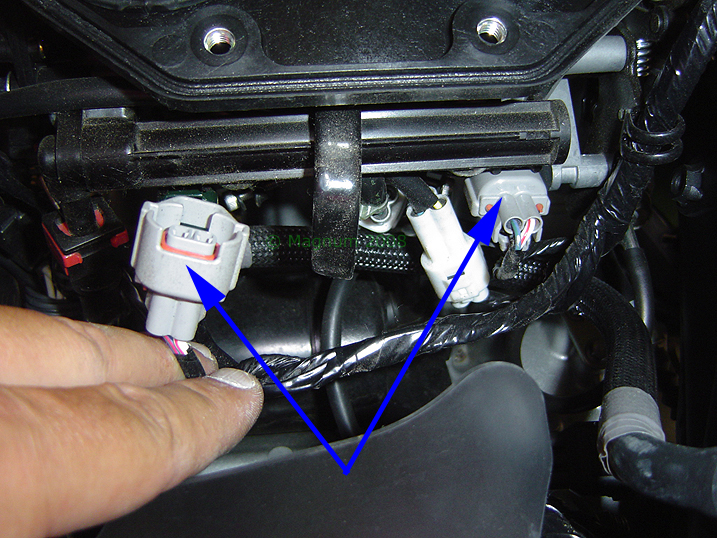
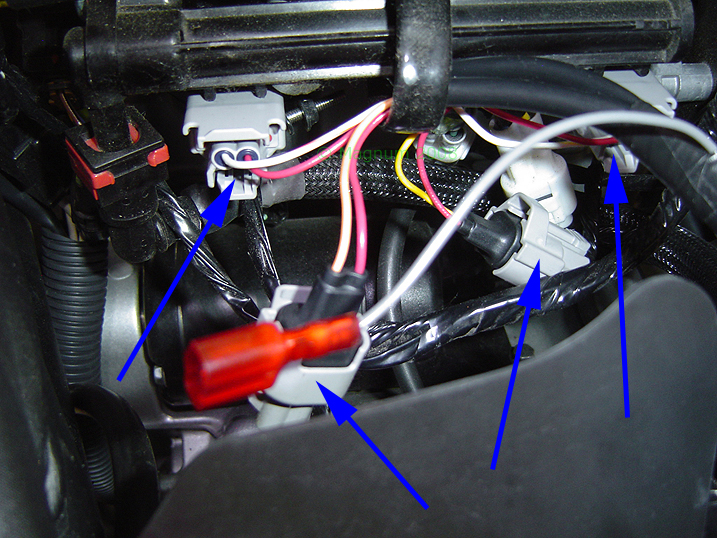
Now unplug the 2 plug from the injectors:
|
 |
|
And hook the connectors from the PCIII in-line
with the stock connectors, see blue arrows. Connect the orange
colored leads from the PCIII harness to the LEFT hand cylinder:
|
 |
|
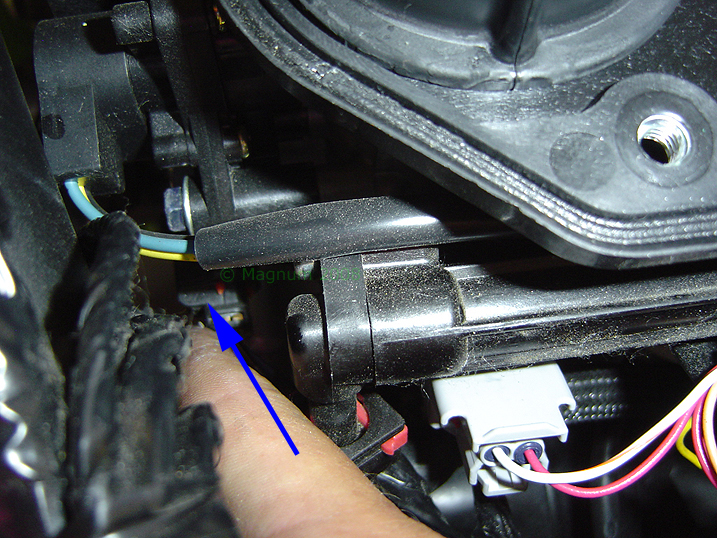
Now locate the Throttle Position Sensor on the
left hand side of the bike. Itís buried under there and I had best
luck removing the fairing bolt that mounts to the frame and
disconnecting from the, then take the quick clamp and connect it to
the yellow wire with white stripes, then plug in the gray wire from
the PCIII to the quick connect and finally plug the stock connector
back into the Throttle Position Sensor:
|
 |
|
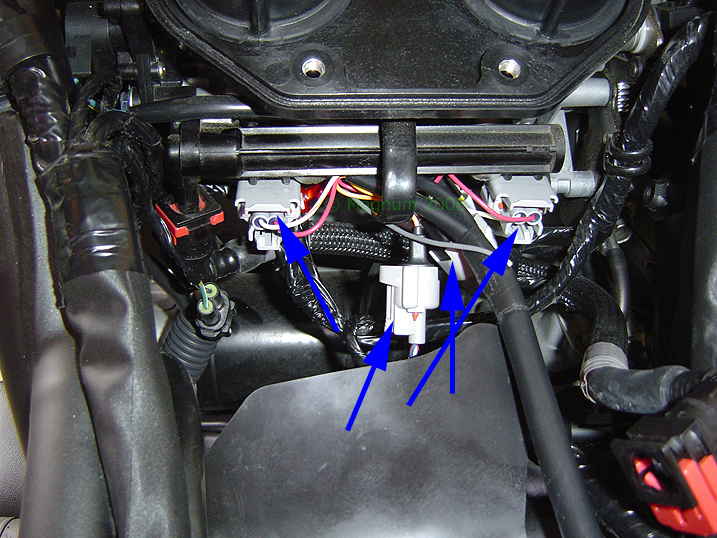
Hereís what it looks like, now reinstall the
airbox in reverse. DONíT forget to route the air filter drain tube
down through and DONíT forget to hook up the breather hose.
|
 |
|
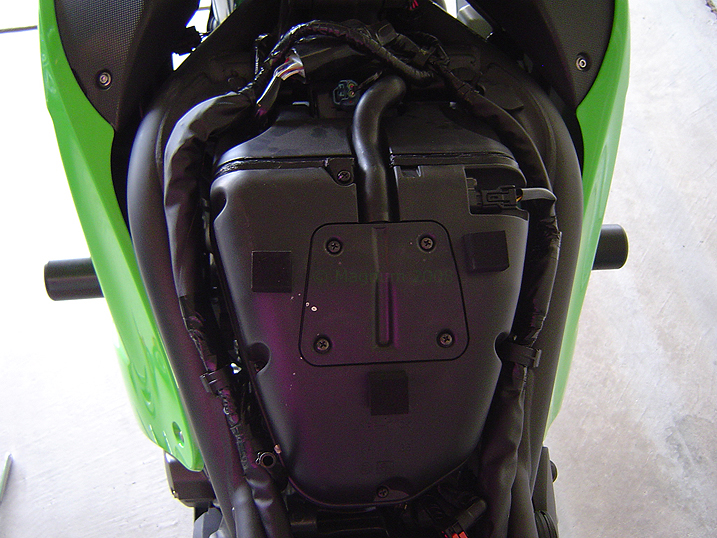
Here it is all back together, and ready for the
fuel tank to go back on. For the fuel tank reassemble in reverse:
|
 |
|
And here is the end result, PCIII and new filter
installed. The blue lines highlight how the PCIII harness routes
through and as you can see I mounted it towards the tail and secured
it with the factory bungee cord.
TOP
|
 |