|
|
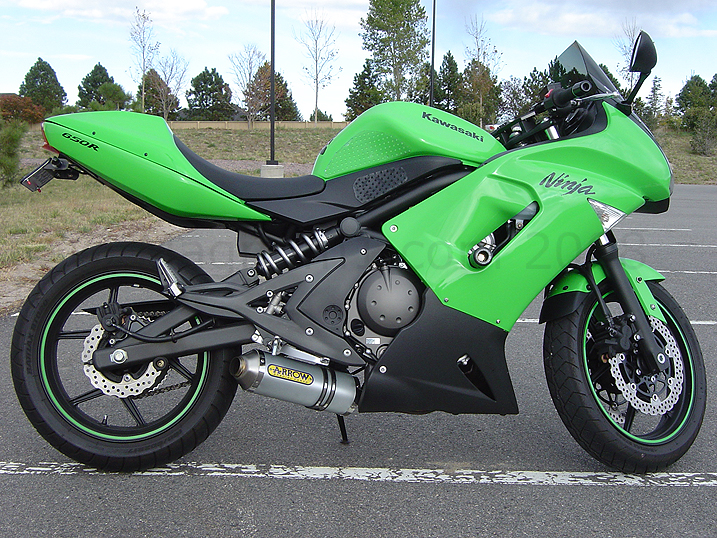
Much anticipated for me as I really never cared for the “banana
seat”. Price point seems to be a bit high for what it is, but it sure
looks good. The install was easy, taking very little time, but then I
putzed around trying to get it to fit as good as possible. There are
a few gaps here and there, but not much you can do about as I learned
after repeatedly trying.
Parts:
Tools:
-
10mm Socket
-
Ratchet
-
Drill
-
3/16" Drill Bit
-
Tape Measure
-
Sharpie
So let’s get started.
Enjoy, and remember ALWAYS work safe and I assume NO
RESPONSIBILITY for your actions, mechanical abilities or
anything that may occur during the nature of the repairs.
Disclaimer: Not for
distribution, redistribution, sale, re-sale or otherwise without my
written consent. This information is presented with no liability or
guarantee expressed or implied, work at your own risk.
Copyright © Magnum / Magnum1.com 2003-2008.
|
|
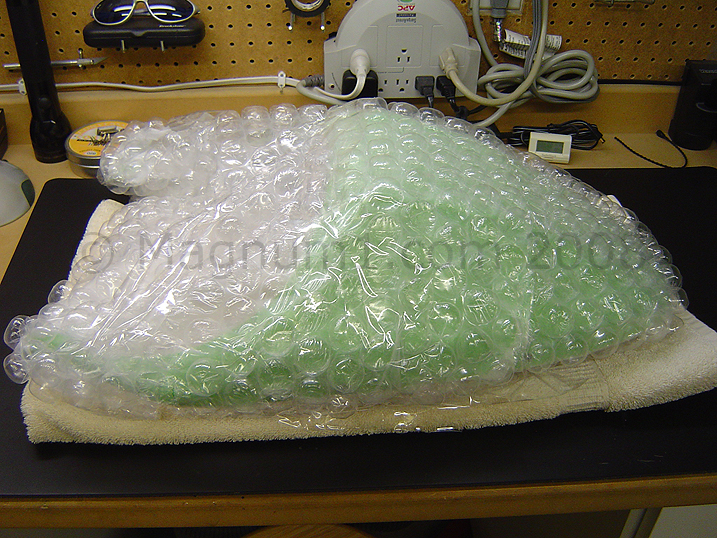
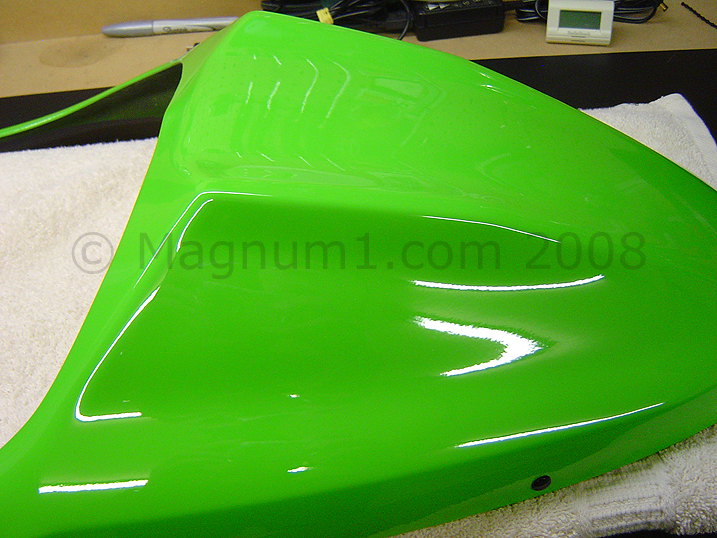
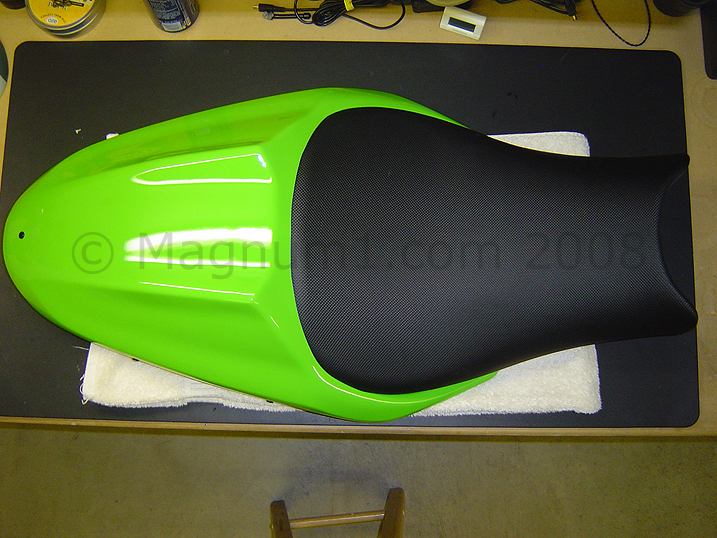
First here are many pics of the seat cowl itself. The unveiling, lol:
|
 |
|
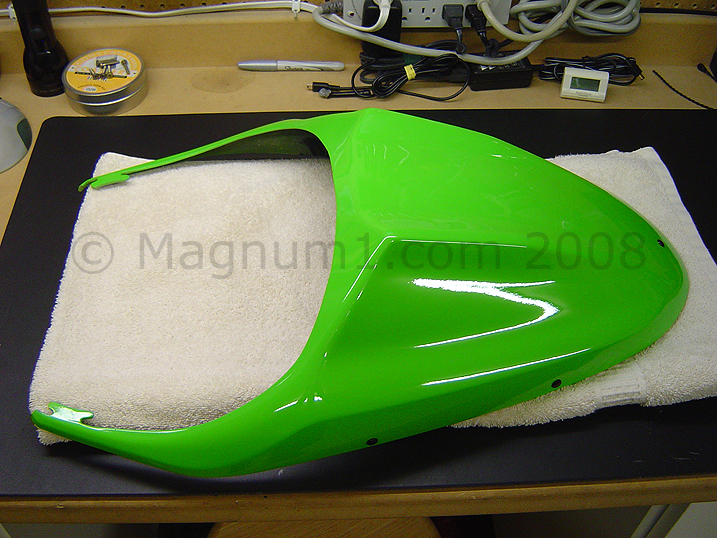
Ok, here you go:
|
 |
|
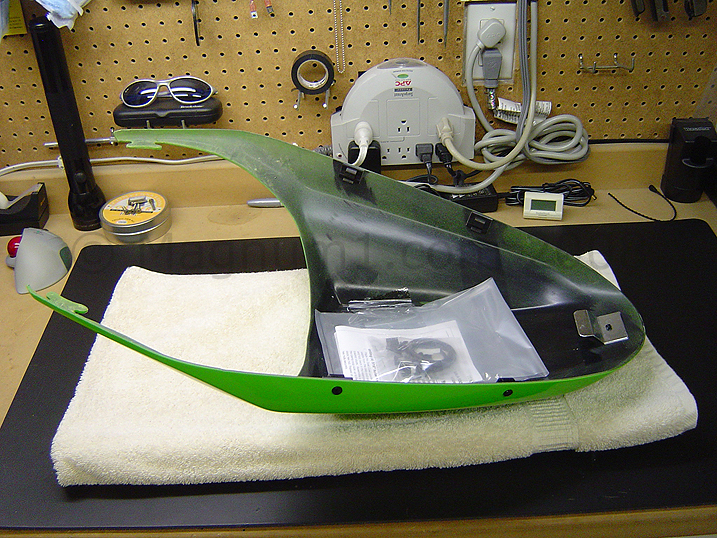
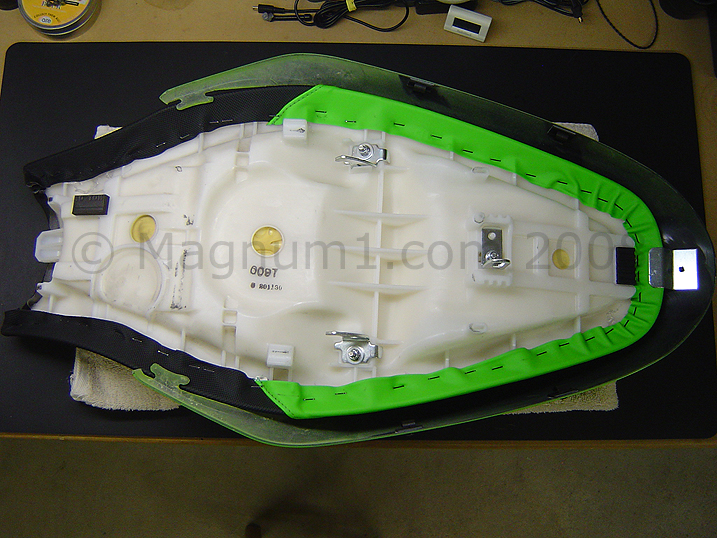
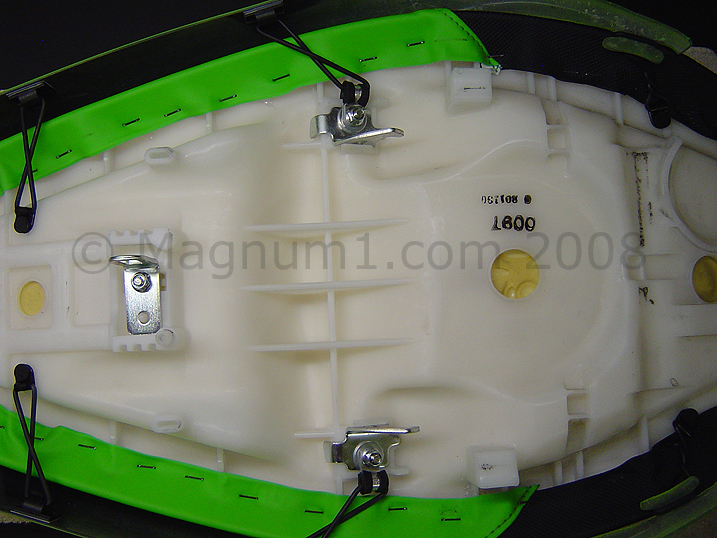
Underside:
|
 |
|
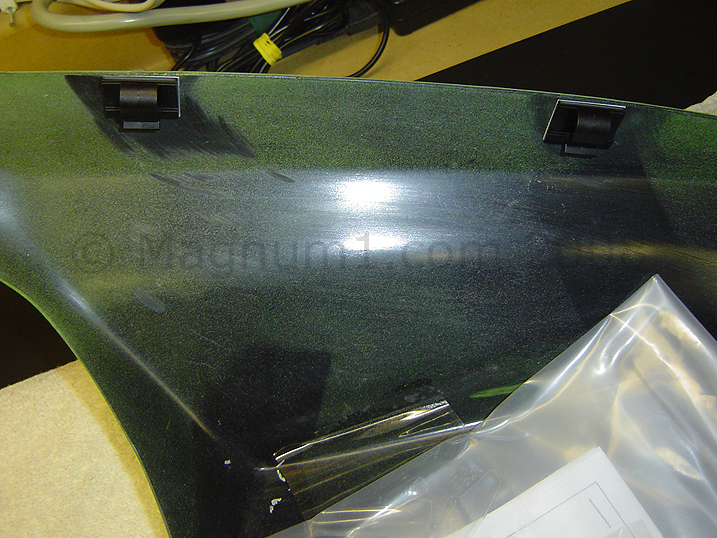
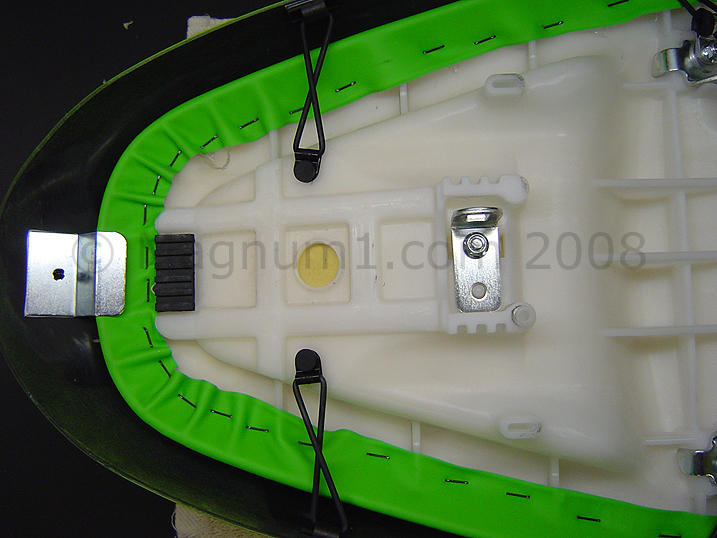
These clips are where the rubber O-Rings attach to:
|
 |
|
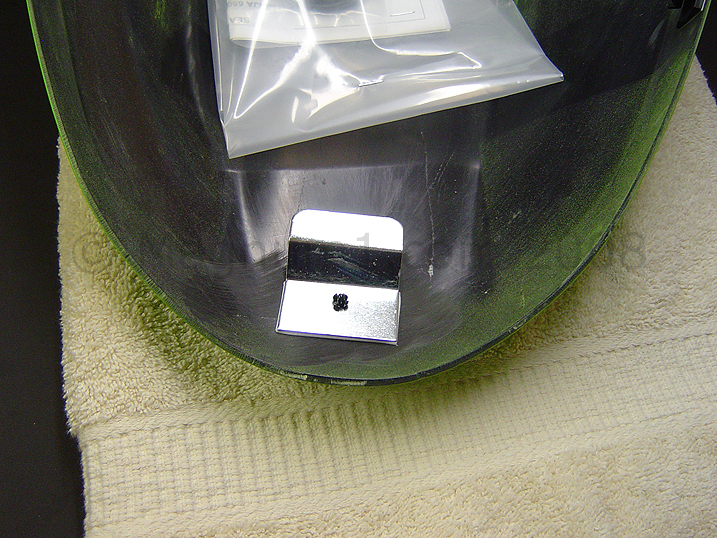
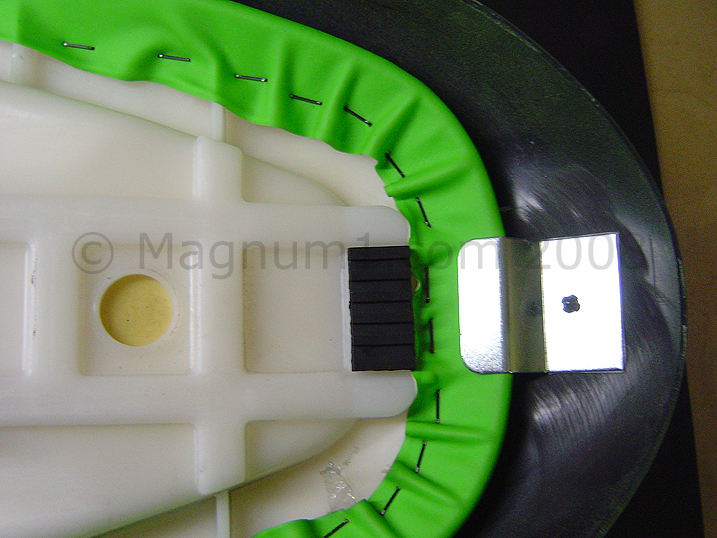
Metal clip that slides on the rear of the seat:
|
 |
|
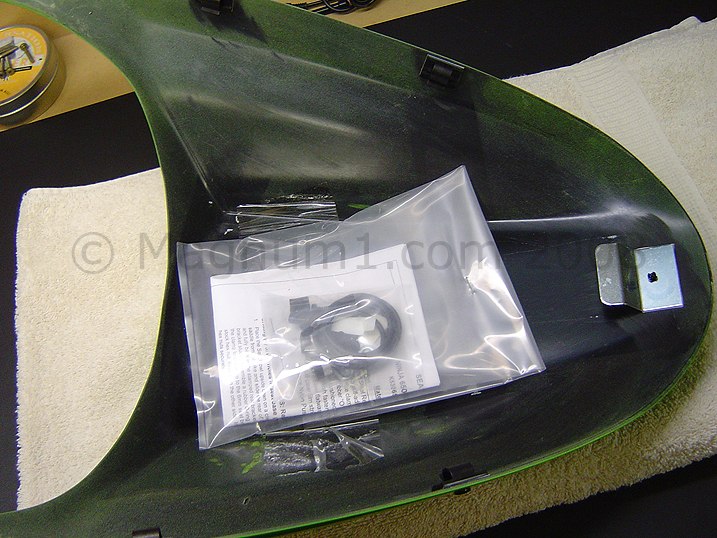
Instructions and hardware taped in:
|
 |
|
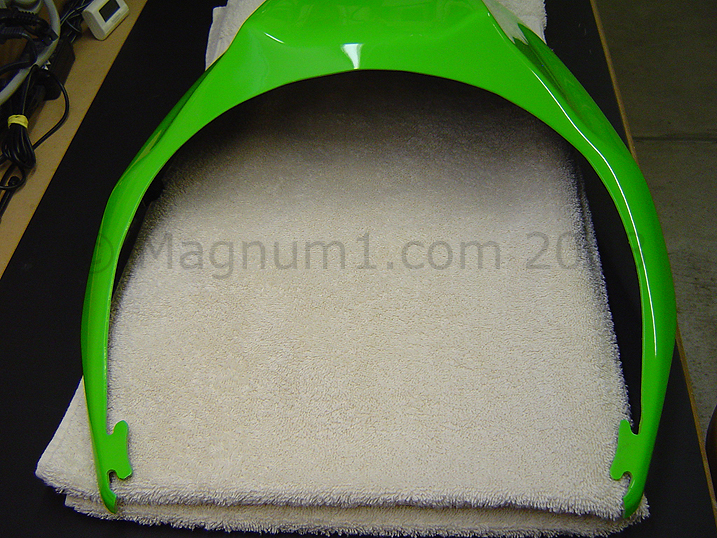
Top front view:
|
 |
|
Rear view, this is what most cages see anyway:
|
 |
|
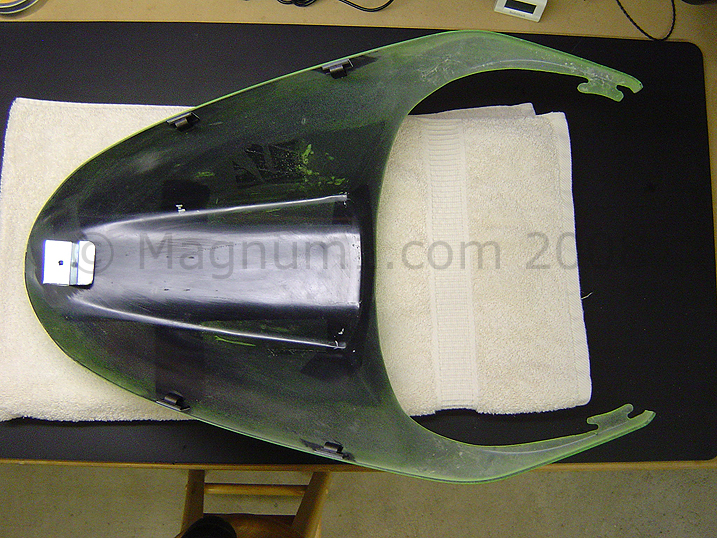
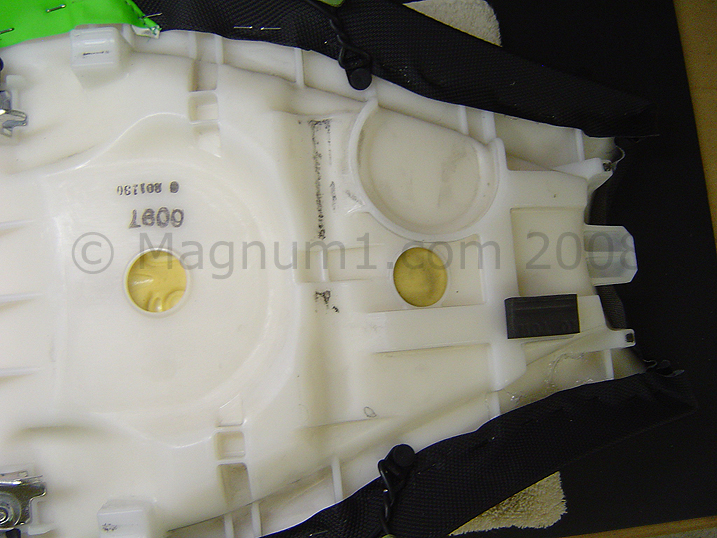
Full
shot of the underside: |
 |
|
Detail of the shape:
|
 |
|
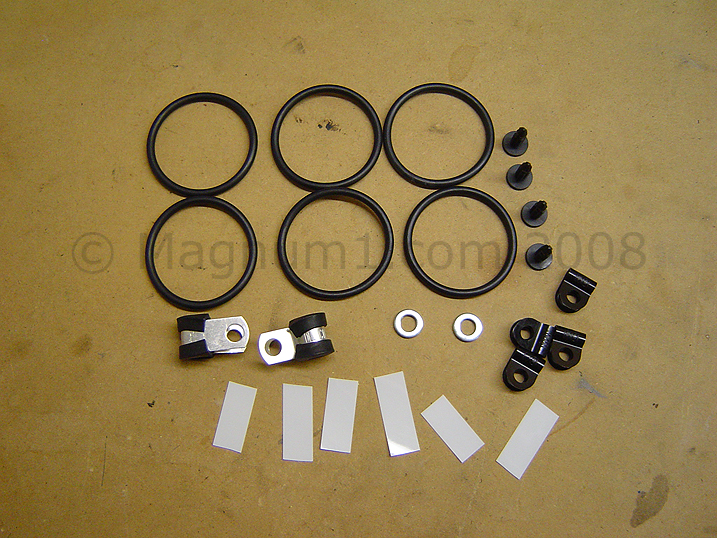
Ok, enough, enough….Let’s get it attached to the seat, here’s the
parts that come with the cowl:
|
 |
|
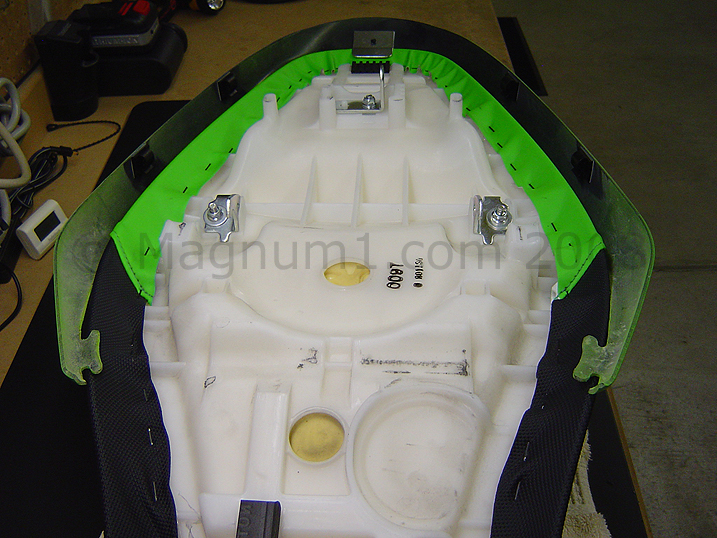
First I took the seat off the bike, brought it over to the work bench
and fitted it on the seat making sure it was centered and pushed it
under the metal bracket you see:
|
 |
|
Like so:
|
 |
|
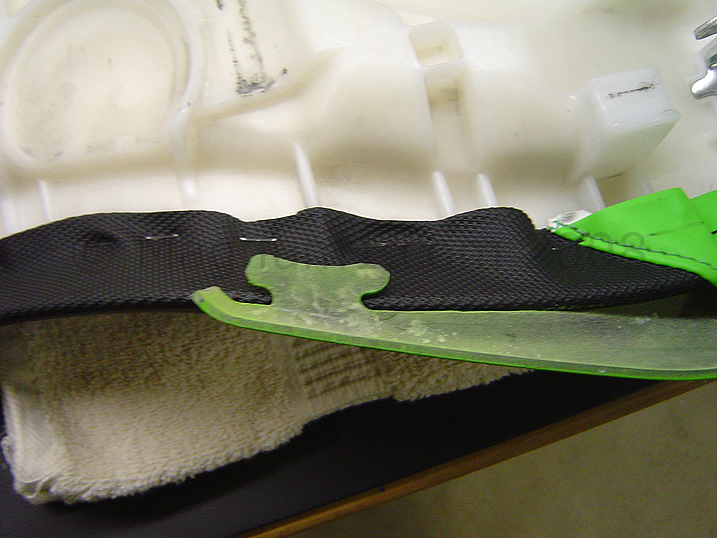
Here’s how the “claws” fit….I don’t know what the hell they’re called
but it sounded good.
|
 |
|
Here a shot of it “fitted”:
|
 |
|
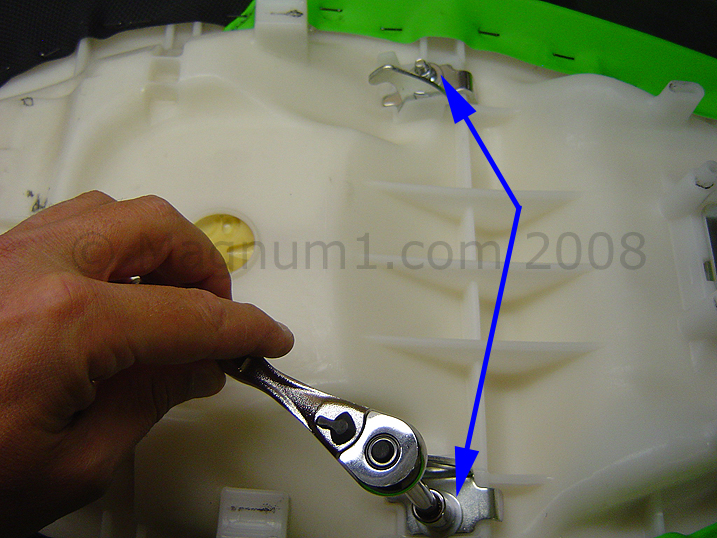
Now take your 10mm socket and socket wrench and remove the stock
bolts:
|
 |
|
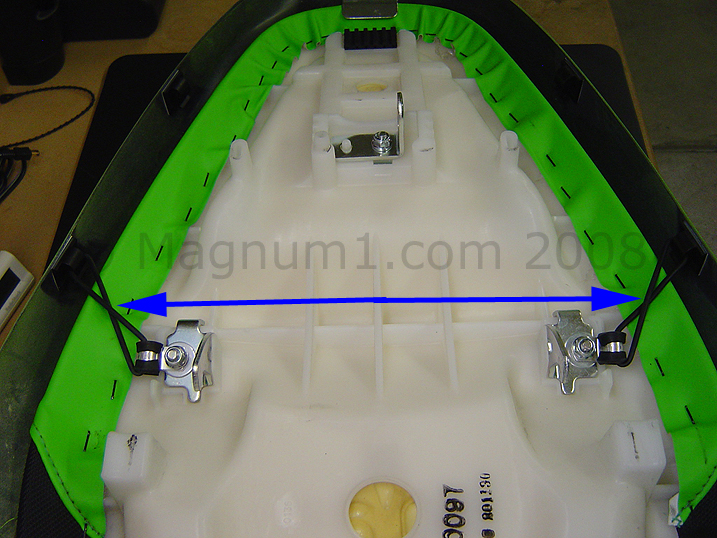
Then attach the washer, rubber cushioned loop clamps and rubber O-Ring
to the stock bolt and then re-attach the bolt:
|
 |
|
Then I attached the rubber O-Rings and test fitted it on the bike:
|
 |
|
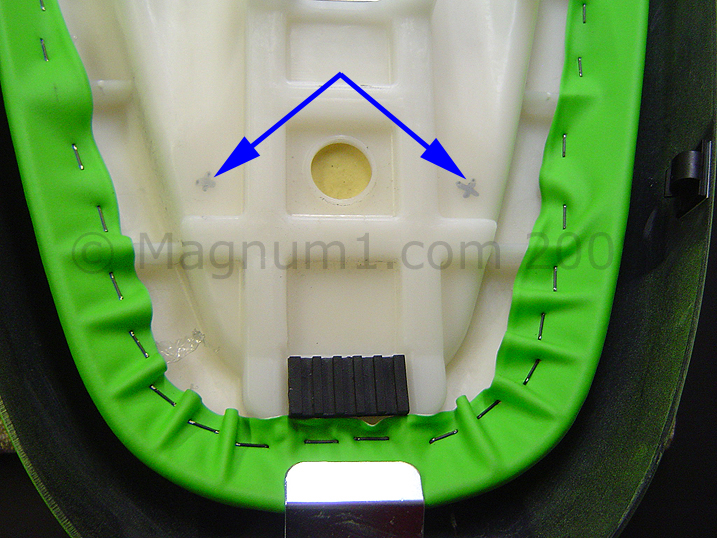
Now it’s time to finish up the rest. Measure 2” out on each
side from the center of the 1” hole you see here and mark the spots:
|
 |
|
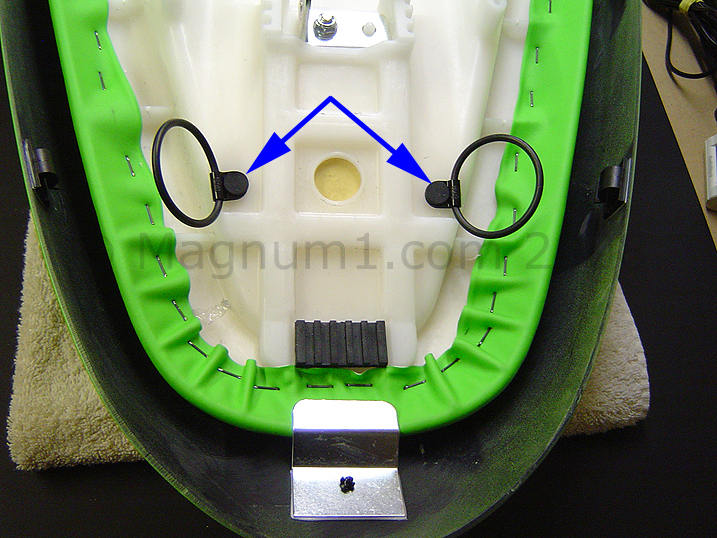
Once
the hole are drilled then attach the hardware, this includes the nylon
clamps, nylon push fasteners and rubber O-Ring: |
 |
|
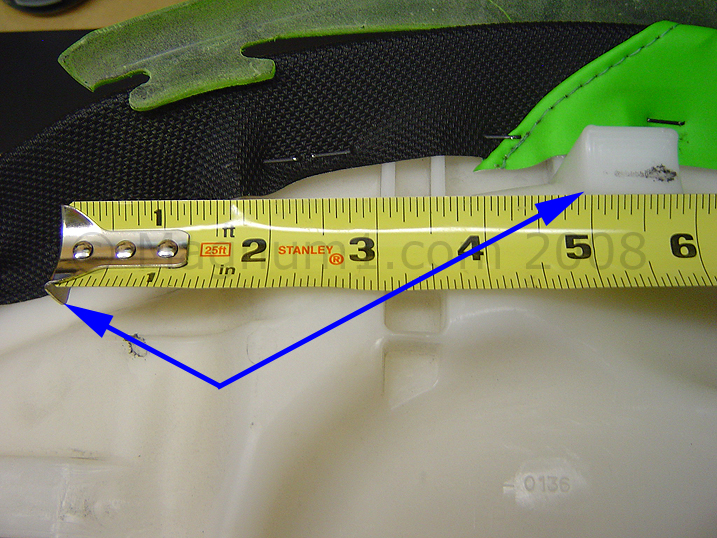
Now move towards the front of the seat. First measure 5” forward from
this block on each side and make a small mark:
|
 |
|
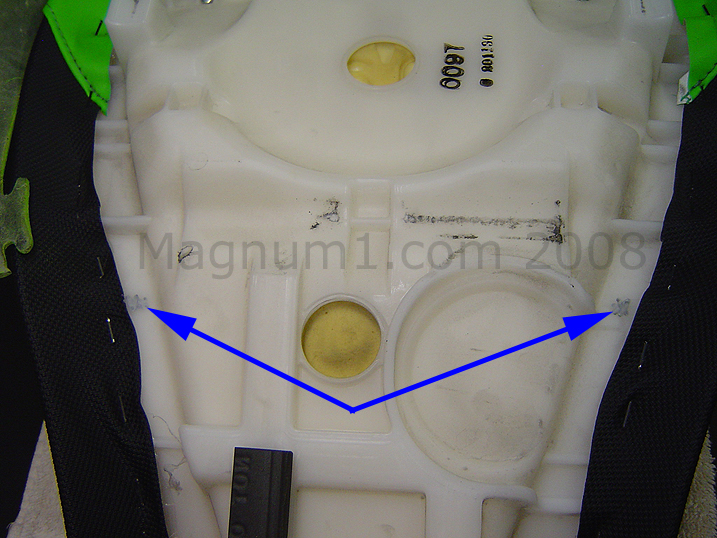
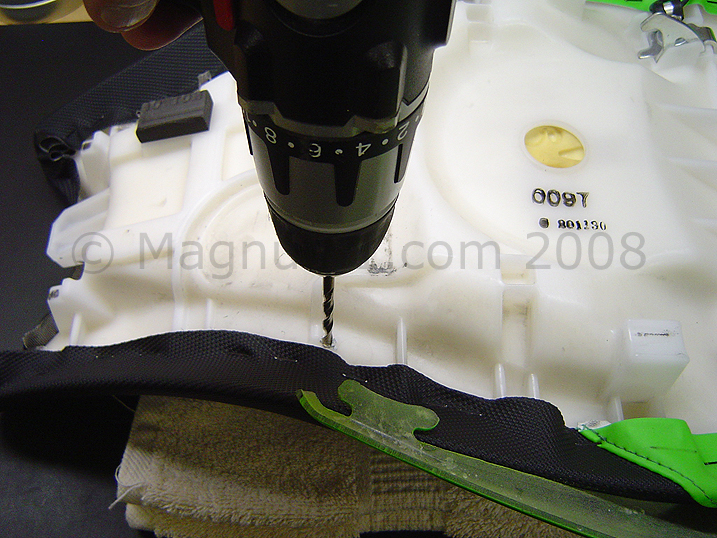
And now measure in 1 ½” from the outside of the seat base and meet the
five inch and one and a half inch marks and drill the holes:
|
 |
|
Like this, LOL:
|
 |
|
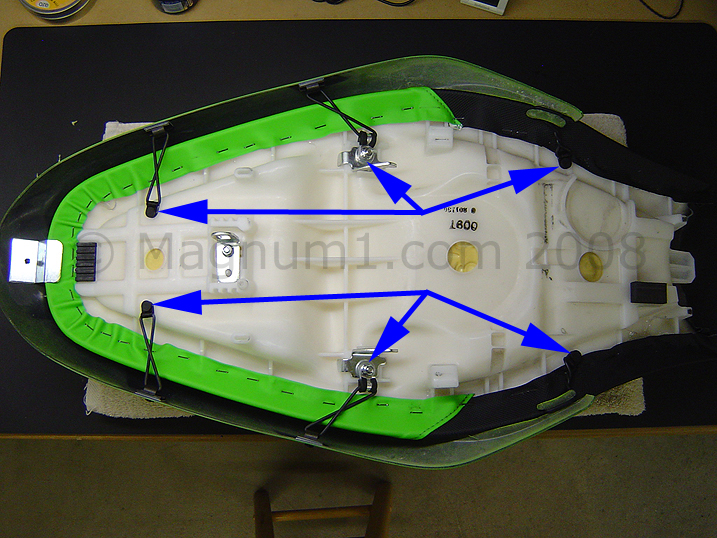
Now take all the rubber O-Rings and attach. YMMV, but I found it best
to twist the O-Rings for a better fit when the seat goes back on:
|
 |
|
Now
flip the seat over and drool: |
 |
|
And here’s how the bottom should look, rear shot:
|
 |
|
Center shot:
|
 |
|
Front shot:
|
 |
|
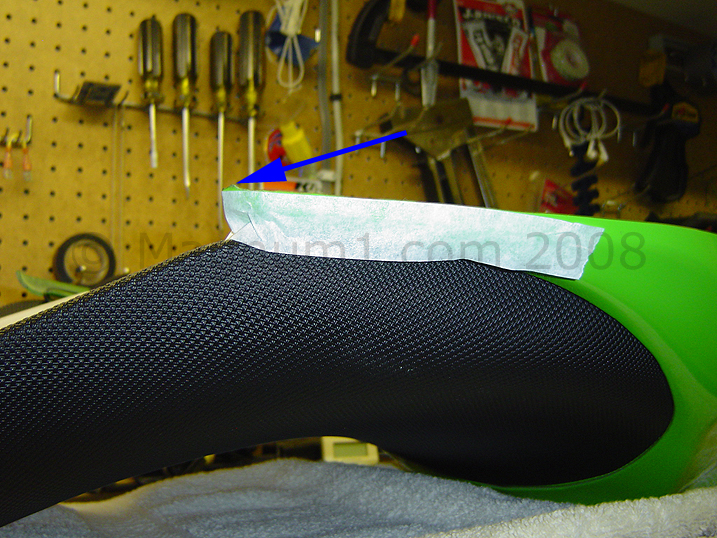
Now once I put the seat on I noticed that one side has a bit of a edge
on it from the mold and wasn’t seating properly so I took the seat
back off and sanded this down with my dremel. Experience tells me to
put some masking tape on the paint side so the paint does chip below
the part I am sanding:
|
 |
|
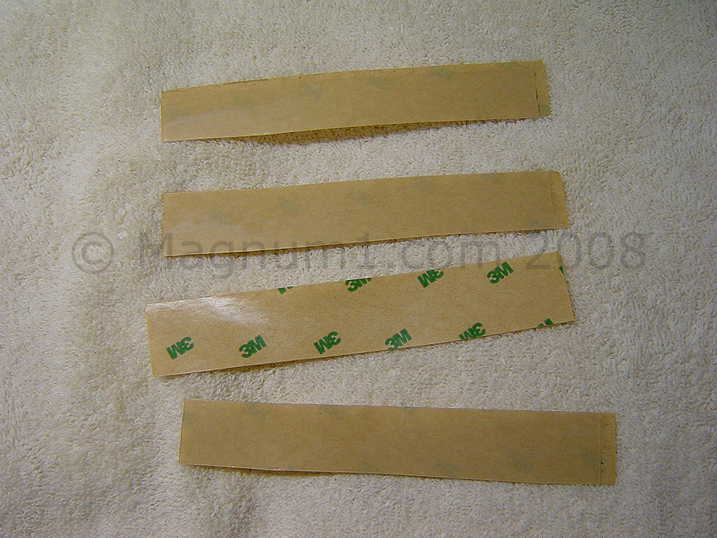
Now Kawasaki gives you some small clear tape to put on various spots
of the rear panel so they don’t scratch, but I’ve never had very good
luck with stuff like this that manufacturers supply. So I keep some
3M clear bra tape around, and I cut some strips and used it instead:
|
 |
|
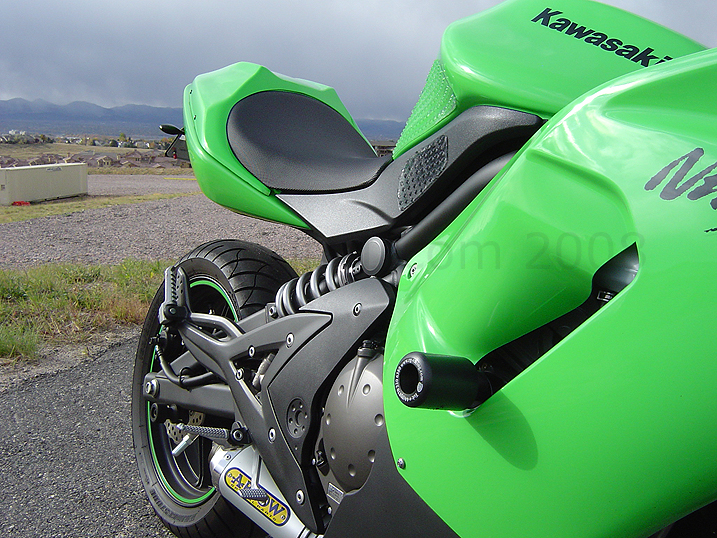
Alright, here’s some pics of the seat cowl on. BTW, it started
snowing after my run to get some pics of the cowl on….Ha-Ha, brrrrrrr:
|
 |
|
Very Batman'ish....:
|
 |
|
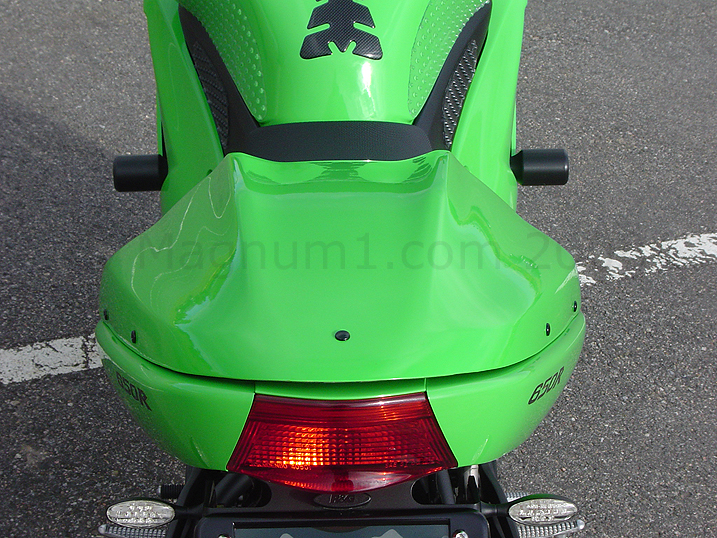
Another:
|
 |
|
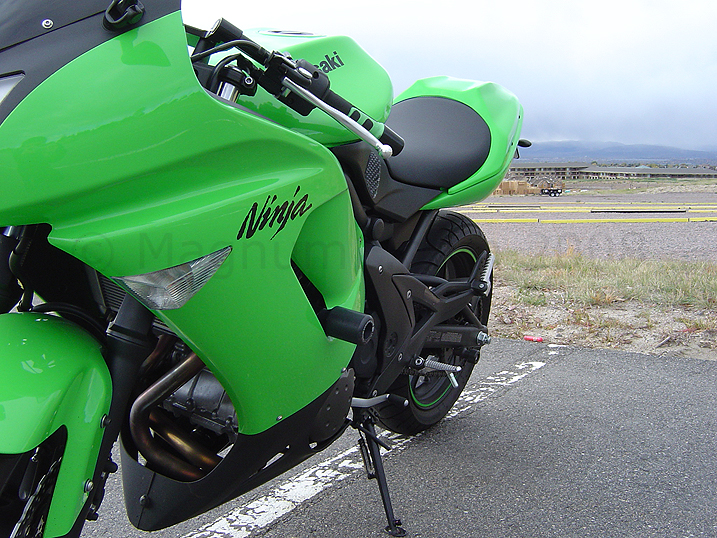
….and just 1 more:
To see more / larger pics of the bike after the
install
click here.
Here's a scan of Kawasaki's "official" instructions for this cowl.
TOP
|
 |
|
If you feel this article
has helped you in any way or if you would like this
document in a .PDF with descriptions and large color photos, please make a
PayPal donation. All donations will help defer the cost of this
site. If you have any questions about the article or the
information contained within this article please contact me via the
Feedback Page. |
Disclaimer: Not for
distribution, redistribution, sale, re-sale or otherwise without my
written consent. This information is presented with no liability or
guarantee expressed or implied, work at your own risk.
Copyright © Magnum / Magnum1.com 2003-2008. |
|
